Replacing the battery for Craftsman garage door remote is a simple do-it-yourself task. When your remote’s LED indicator grows dim or the remote’s range diminishes (or it stops working entirely), it’s likely time to change the battery. Here’s how to replace the battery in most Craftsman remotes:
1. Open the Remote’s Case:
Most Craftsman garage door remotes have a two-piece plastic housing. Look for a small notch or slot on the side of the remote. Often the visor clip can be used as a tool to pry the two halves apart. Insert a coin or flat screwdriver into the notch and gently twist to pop open the case. (Many remotes even have the word “OPEN” molded on the case to indicate where to pry.) Be careful as you separate the halves so as not to send the battery or any small components flying. Some smaller remotes might have a sliding battery tray or a screw – but Craftsman visor remotes typically snap open.
Tip: Do this over a table so you don’t lose the battery.
2. Remove the Old Battery:
Once the remote is open, you’ll see the battery (or batteries) on the circuit board. Note the orientation – usually the flat face with writing (positive + side) is either up or down depending on design. In many Craftsman garage door remotes, the positive side faces down towards the circuit board (but double-check yours). Slide the old battery out. If it’s a coin cell in a clip, push it out from one side. If the remote has two coin cells stacked, remove both. Dispose of the old battery properly (lithium cells should be recycled or taken to battery disposal, not thrown in household trash).
3. Insert the New Battery:
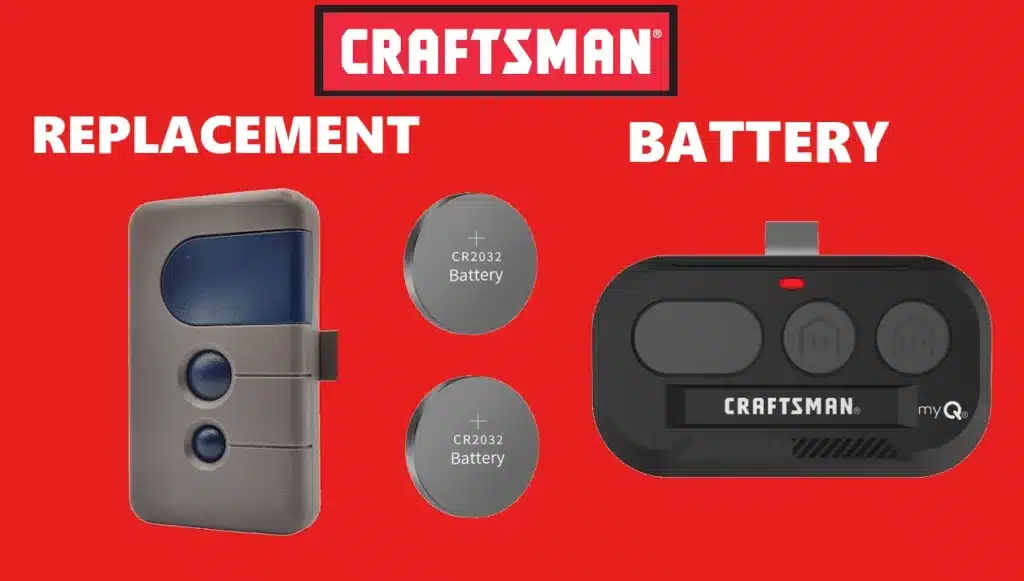
Take your fresh battery (of the same type; see Section 7 for battery types) and insert it in the same position. If it’s a coin cell, it will slip under the metal contacts – ensure it makes good contact. If your remote uses two coin cells, stack them as before (usually two CR2016 cells stack to equal one CR2032 in size). Ensure polarity is correct – usually positive (+) side of a coin cell faces the same way the old one did (often downwards in Craftsman remotes). For a 12V mini battery, just put the new one in the holder in the same orientation (they typically only fit one way due to the shape).
4. Snap the Remote Case Closed:
Align the two halves of the remote and snap them back together. Make sure any buttons are aligned properly and the battery is secured in its slot. Most Craftsman remotes have tabs on one end – insert those first, then press the case shut until it clicks. If your remote had a screw, replace it.
5. Test the Remote:
Stand a reasonable distance from your garage and press the button. The LED on the remote should light strongly and the door should activate. If nothing happens, you may have inserted the battery upside down or the contacts aren’t touching – reopen and check orientation. In rare cases, you might need to reprogram the Craftsman remote after a battery change, but generally Craftsman remotes will retain their coding through a quick battery swap (the code is stored in non-volatile memory). However, if the remote was without a battery for an extended period or if it was a very old fixed-code remote, you might have to set the dip switches again or re-learn it – but this is uncommon for modern units.
Battery replacement is considered normal maintenance. Given the typical 3-5 year battery life, it’s a good idea to have spare batteries on hand. The process described is quick (a minute or two) and does not require reprogramming in most cases. One caution: avoid using metal tools directly on the circuit board to pry the battery, as you could short the battery or damage the electronics. If the battery is hard to get out, use a non-metal tool or carefully pry at the edge. Once replaced, your Craftsman remote should be as good as new, ready to reliably open your garage door from afar.
Practical Tips Regarding Battery For Craftsman Garage Door Remote
This is another angle on the battery topic, likely emphasizing ensuring you have the right battery and maintaining it. Let’s cover a few practical tips regarding Craftsman remote batteries:
- Battery Life and Symptoms: As mentioned, these lithium batteries last a long time, but not forever. If you notice you have to get closer to the door than before, or press the button multiple times, that’s a classic symptom of a weakening battery. The LED on many Craftsman remotes might also appear dim or not light at all when pressed if the battery is nearly dead. Ideally, replace the battery before it completely dies (for convenience), perhaps every 3-5 years as preventive maintenance. If you have multiple remotes, you might change all their batteries at once to keep them on the same schedule.
- Spare Batteries: Keep an extra CR2032 battery (or whatever type your remote uses) in a known place. These batteries are cheap, and it saves you a trip to the store when the remote battery finally gives out. The CR2032 is also used in many car key fobs, small electronics, etc., so it’s a handy item to have around. They also have a shelf life of up to 10 years unused. If your Craftsman remote uses the 12V A23, those also have decent shelf life. Avoid storing spare batteries in extreme heat as it can reduce life.
- Replacing Safely: When you replace the battery, we reiterate to insert it correctly. The positive (+) side typically goes down in Craftsman visor remotes (touching the circuit board contacts), while the negative side faces up towards the battery cover – but verify in your specific remote. Inserting a coin cell upside down simply means it won’t work (no damage done), so if you put a new battery in and get nothing, flip it over. For 12V batteries, usually the end with the nub is positive and that should align with the + sign inside the compartment.
- Multiple Batteries in Remote: A quirk of some older Craftsman remotes is using two coin cells. If, for example, your remote takes two CR2016 cells, make sure to replace both with fresh cells. Don’t mix old and new or you’ll still have poor performance. When buying coin cells, they often come in multi-packs; use two from the same pack in those cases. The two batteries are stacked in series (to provide 6V) in those designs, and they will both drain together, so always replace them together.
- Disposal: Old lithium batteries should not be thrown in fire or general trash. They can be a hazard if shorted. Tape over the faces of the spent coin cell if storing a bunch together to avoid shorting, and drop them off at an appropriate recycling point (many stores have a battery drop box). This is just an eco-friendly reminder.
- Opener Backup Battery vs Remote Battery: Don’t confuse the small remote control battery with the opener’s backup battery. Some Craftsman openers (AssureLink models) have a rechargeable backup battery in the opener unit (to run the motor during a power outage). That is a 12V lead-acid battery in the opener unit, which is entirely separate from the handheld remote’s battery. The question here is about the remote’s battery – which is much smaller. Just a note because Craftsman uses the term “battery” for both contexts; the opener’s backup battery does not affect the remote’s operation except during outages the opener can still run.
Finally, if after changing the remote battery the remote still doesn’t work, double-check that the remote is still programmed to the opener. It normally should be (changing batteries does not typically erase codes), but if something odd happened and it lost its coding, you might have to reprogram it to the opener. Also check that the contacts in the remote (where the battery touches) are clean and not corroded; a bit of electronics cleaner or rubbing alcohol can help if needed. This is usually only an issue if a battery leaked (which lithium coins rarely do) or moisture got in.
In short, Craftsman garage door opener remote batteries are low-maintenance: replace every few years with a CR2032 or appropriate cell, and your remote will continue to function optimally. It’s a quick fix to what might seem like a big problem when your door doesn’t open – often, a new battery brings it back to life immediately.