This in-depth guide covers the most common LiftMaster garage door opener repair tasks, including sensor alignment, motor diagnostics, remote reprogramming, chain and belt tensioning, wall control issues, and power failures. We’ll walk you through each repair type step by step, offering expert tips, safety advice, and real-world scenarios to help you get your garage door running smoothly again. Whether you’re a seasoned DIYer or a first-time fixer, this guide is designed to make troubleshooting your LiftMaster opener clear and manageable.
Repair Your LiftMaster Garage Door Opener Like a Pro
Complete LiftMaster Garage Door Opener Sensor Repair Instructions
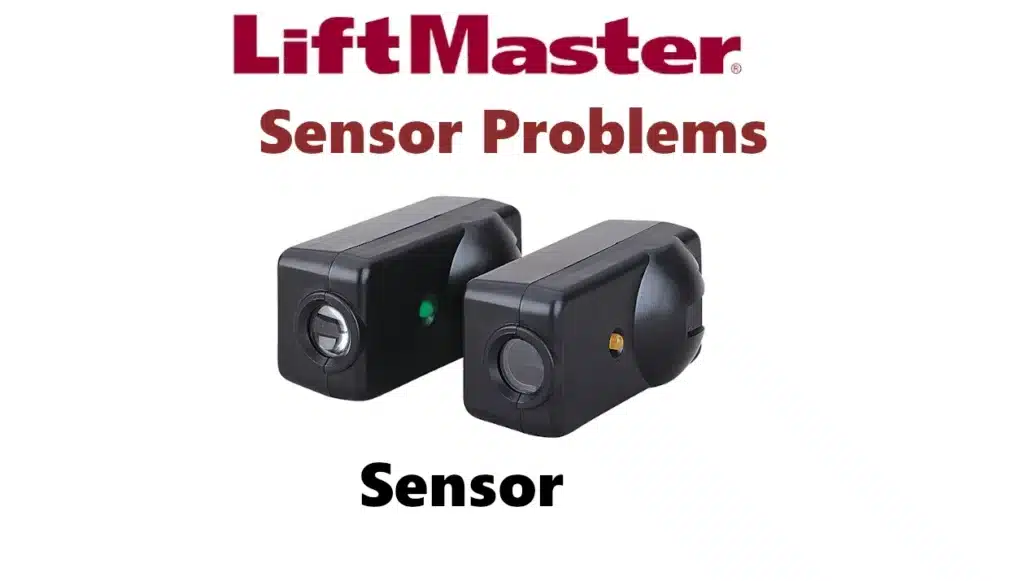
LiftMaster safety sensors mount near the floor on both sides of the door and beam an infrared light between them. If this beam is blocked or misaligned, the opener will refuse to close or will immediately reverse. Common symptoms include the door stopping or reversing shortly after starting to close, blinking sensor LEDs, or the opener flashing an error code (often code 4‑6). For example, Express Garage Doors notes that if the door “reverses direction or doesn’t close completely, it may indicate an issue with the safety sensors”.
Often one sensor’s LED will be off or flickering. First check for obvious obstructions (toys, debris, or dirt on the lens) and wipe the sensor lenses clean. This is one of the most frequent issues addressed during a typical LiftMaster Garage Door Opener Repair, as misaligned or blocked sensors can completely disable door functionality.
Tools & Precautions: You will need a ladder (if sensors are mounted higher than you), a clean cloth, and basic hand tools (e.g. screwdriver or wrench for the mounting bracket). Always disconnect power to the opener before adjusting sensors to avoid unexpected door movement. Wear eye protection in case the brackets spring.
- Inspect and Clean: Ensure no debris blocks the beam. Wipe both sensor lenses with a dry cloth.
- Check Wiring: Inspect the thin wire running from each sensor along the garage wall/tracks. Look for pinched, frayed, or disconnected wiring. If both sensor LEDs are off, the wiring or opener board may be bad – check the low-voltage connections at the opener. (If you have a multimeter, measure ~4–6V DC at the sensor terminals; no voltage suggests a control board or wiring issue.)
- Align Sensors: Loosen the wing nut(s) on each sensor’s bracket so you can gently swivel the sensor. Adjust the sensors until both LEDs light solid green (or steady amber on some models), indicating alignment. Motion Garage Doors advises: “Loosen the wing nut and adjust the sensor until the green LED glows steadily. Then tighten the wing nut again.” Ensure the sensors face each other at the same height and distance (typically about 6 inches above the floor and directly opposite).
- Secure and Test: Once aligned, tighten the wing nuts securely. Reconnect power and test the door. The door should close completely unless blocked. Perform the garage door safety-reverse test by placing an object (like a wooden block) in the path – the door must reverse upon contact to confirm sensor operation.
Proper alignment is critical: Motion Garage Doors warns that if the beam is obstructed or the sensors misaligned, “the garage door opener will flash 10 times” and refuse to close. If the sensors still don’t work (LEDs off or blinking) after cleaning and aligning, double-check each sensor’s power and wiring. In some cases, replacing the sensor unit or the wiring harness is needed.
When to Call a Pro: If you’ve exhausted basic fixes (cleaning, tightening, re-aligning) and the sensors still malfunction, or if you find damaged wiring deep in the wall, call a professional. Also call a technician if the sensors repeatedly lose alignment for no clear reason. As Express Garage Doors notes, repeated failure to align after multiple attempts suggests a “more serious issue” requiring expert help. Never disable or bypass safety sensors except in an emergency.
Troubleshooting LiftMaster Garage Door Opener Motor Repair Problems
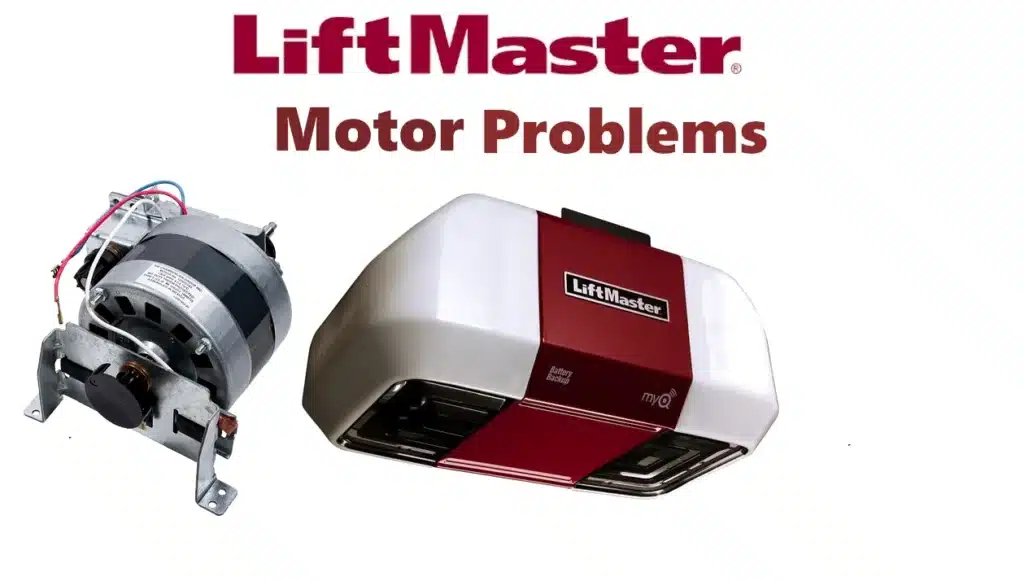
LiftMaster opener motor issues often manifest as strange noises or lack of door movement. A humming or grinding sound with no door movement is a classic symptom. According to Family Christian Doors, “If your garage door opener hums but doesn’t move… the capacitor is probably bad”. In other words, the motor tries to start but lacks the initial boost from the start capacitor. Other motor-related symptoms include: the opener runs slowly or stops mid-stroke, unusual grinding or rattling noises (suggesting stripped gears or motor strain), or the door “dropping” after reaching the top (excessive force).These indicators often point to deeper motor issues typically resolved through a LiftMaster Garage Door Opener Repair.
Tools & Precautions: Tools may include a multimeter (to test electrical components), a set of nutdrivers/screwdrivers (to open the opener housing), and possibly a replacement capacitor or gear kit. Always unplug the opener or flip the breaker before opening the housing (DDM Garage Doors cautions that unplugging first is “important because you could get injured by an electrical shock”). Also, disable the garage door torsion springs or ensure the door is balanced; a broken spring can make the opener motor run without lifting the door.
- Check Power and Mechanism Engagement: First, make sure the wall switch is not locked out. Then ensure the trolley is engaged (not in manual release mode). If the motor hums without moving the door, note whether the trolley is moving at all. Disconnect the door (pull the emergency cord) and try running the opener – if the motor still hums but does nothing, it indicates internal issues (since no heavy door load is present).
- Inspect Springs: Broken or weak torsion springs will cause the opener to “jam” as it cannot lift the door’s weight. If you suspect broken springs, STOP DIY (springs are dangerous). Instead, check manually if the door is extremely hard to lift – if so, replace the springs (call a pro).
- Test the Capacitor: Use a multimeter on capacitance mode, or swap with a known good capacitor. Symptoms of a bad start capacitor include humming and failure to start. If the door moves slowly or stutters, the capacitor may be “weak” and need replacement. Visually inspect the capacitor: bulging or burn marks indicate failure.
- Gearbox and Chain/Belt: Sometimes the gears inside the motor assembly strip (especially on chain drives). If the motor runs (you hear spinning) but the trolley doesn’t move, the plastic drive gear may be stripped. DDM says a drive gear kit can often fix this. Replace the gearset if worn. If it’s a belt drive, inspect the belt for wear or slack (see Chain/Belt section). A broken belt/chain will similarly prevent movement.
- Lubrication: A dry chain or rusty hardware can make the motor work harder. Lubricate the chain monthly with garage-door lubricant. Lubricate door rollers and hinges too; excessive friction can mimic motor weakness. (Note: Do not oil the belt – most belt drive manuals advise keeping it clean and dry.)
- Reset and Test: After any repair, plug in the opener and test it. If the motor still fails to run the door, the issue may lie on the opener’s logic board (see next section) or with wiring.
Common LiftMaster garage door codes align with these symptoms. For instance, Motion Garage Doors notes that error codes 1-5 (“No movement in the opener”) require professional diagnosis. In short, if the opener makes noise but does nothing, suspect the capacitor or stripped gears; if it makes no noise at all (dead silent), suspect a control board fault.
When to Call a Pro: Many motor repairs (capacitor replacement, gearset replacement) can be DIY for a handy homeowner. However, if you’re not comfortable opening the opener or the problem is complex (e.g. fried motor windings, broken springs, or mystery shutdown), call a technician. Also call a pro if the door still malfunctions after basic fixes or if the opener repeatedly shuts off on overload.
Complete LiftMaster Garage Door Opener Remote Repair Instructions
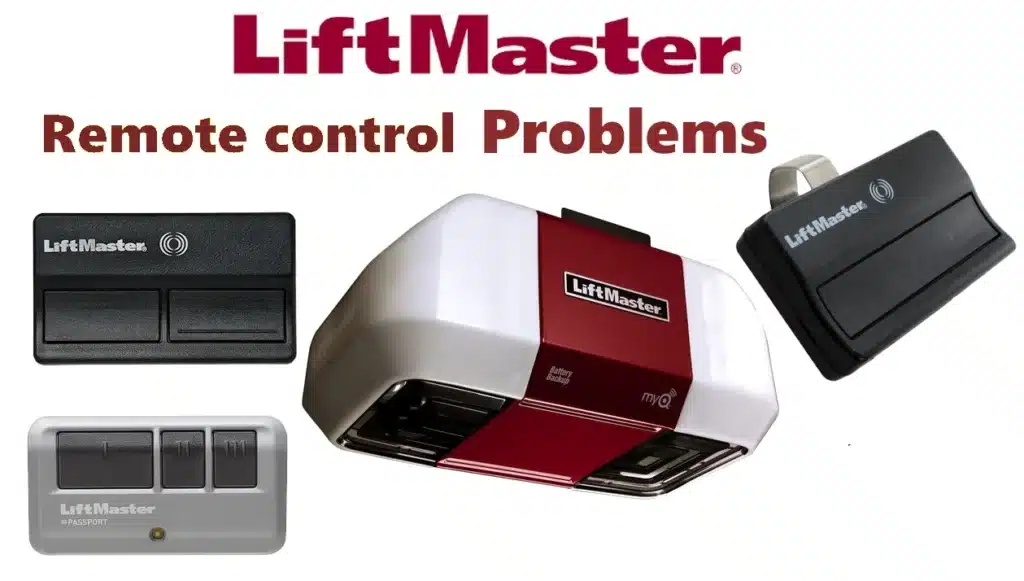
Remote control problems are often simpler to fix: batteries and programming. Start with the basics. If the remote’s LED doesn’t light when buttons are pressed, replace the battery (most LiftMaster remotes use a CR2032 coin cell). Ensure the new battery is the correct type and installed with the correct polarity. Team Taylor Doors highlights that incorrect battery orientation or damaged battery contacts can make a remote stop working. This type of remote malfunction is frequently encountered during LiftMaster Garage Door Opener Repair services, especially when signal loss or synchronization issues occur.
- Check for Interference: Remote signals (around 315 MHz or 390 MHz) can be disrupted by other electronics or metal. In fact, Team Taylor Doors notes that “other electronic devices, metal objects, or other things nearby” can cause remote issues. Try using the remote from different positions, or moving potential sources of interference (Wi-Fi routers, large metal objects, LED lights, etc.).
- Wall Control Lock: Many LiftMaster systems have a lock (Vacation) switch that disables all remotes and wall buttons. Check your wall console: if it has a lock icon or flashing light, disable it. As one expert notes, some wall panels “won’t open if the lock is activated” – so press and hold the lock button for 2 seconds to unlock. If the wall console itself has a flashing LED or “Lock” message, consult your manual: often holding the Lock button on the console for a few seconds clears lock mode.
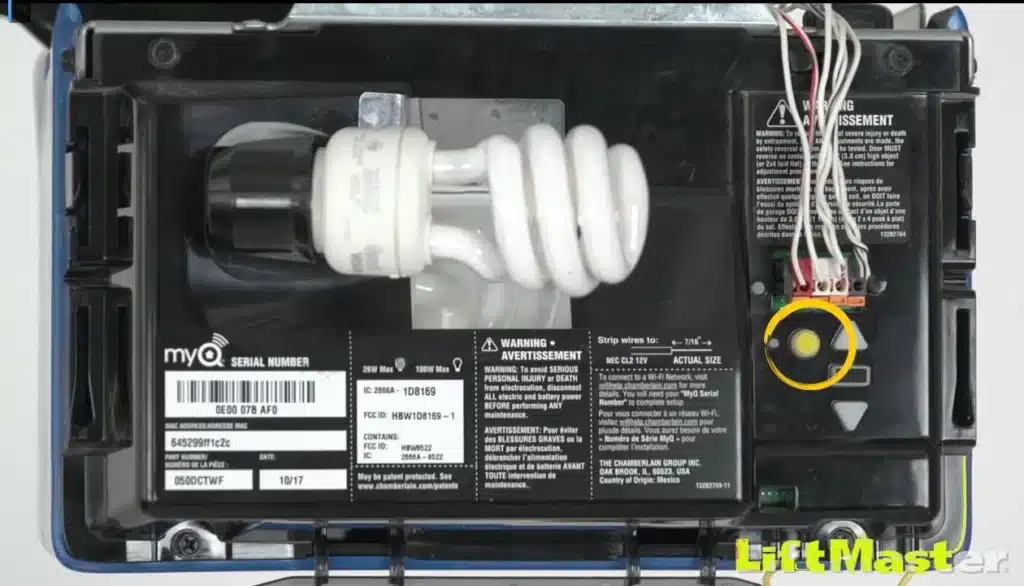
- Reprogram the Remote: If a remote is unresponsive even with a fresh battery and no lock, it may need re-synchronization. LiftMaster remotes use the opener’s “Learn” button. The general steps (e.g. for 891LM/893LM remotes) are: (1) Access the Learn button on the opener head (often under the light lens or housing), (2) Press the Learn button – its LED will light or blink, (3) Within 30 seconds press and hold the button on the remote until the opener’s lights blink or you hear a click. This codes the remote to the opener. Utah Garage Doors explains: “Press the Learn button to enter programming mode… then press and hold the button on the remote… release when the opener’s lights blink”.
- Keypad Programming: If you have a wireless keypad, it also needs programming after a board reset. This usually involves pressing the opener’s Learn button, then entering your desired PIN on the keypad and pressing Enter within a certain time.
- Compatibility: If you recently changed openers or bought an aftermarket remote, ensure compatibility. Sometimes newer openers use Security+2.0 or MyQ technology, and will only work with compatible transmitters. Incompatibility can cause a “dead” remote. Team Taylor Doors warns that mixing new and old parts can lead to problems, so use recommended LiftMaster remotes or verify the frequency band matches.
Tools & Safety: Often just a stepladder to reach the opener head, and perhaps a small screwdriver to open the battery compartment or housing. Always caution: avoid standing directly under the door if you are up on a ladder. Work with a helper if possible.
When to Call a Pro: If you’ve changed batteries, cleared interference, unlocked the panel, and reprogrammed remotes but they still don’t work, the problem may be inside the opener (e.g. damaged receiver circuit). In that case, it’s best to call a technician. Also call a pro if reprogramming fails (openers may have a limit to stored codes) or if you suspect a deeper issue like a bad logic board (see next section).
How to Perform LiftMaster Garage Door Opener Chain/Belt Repair
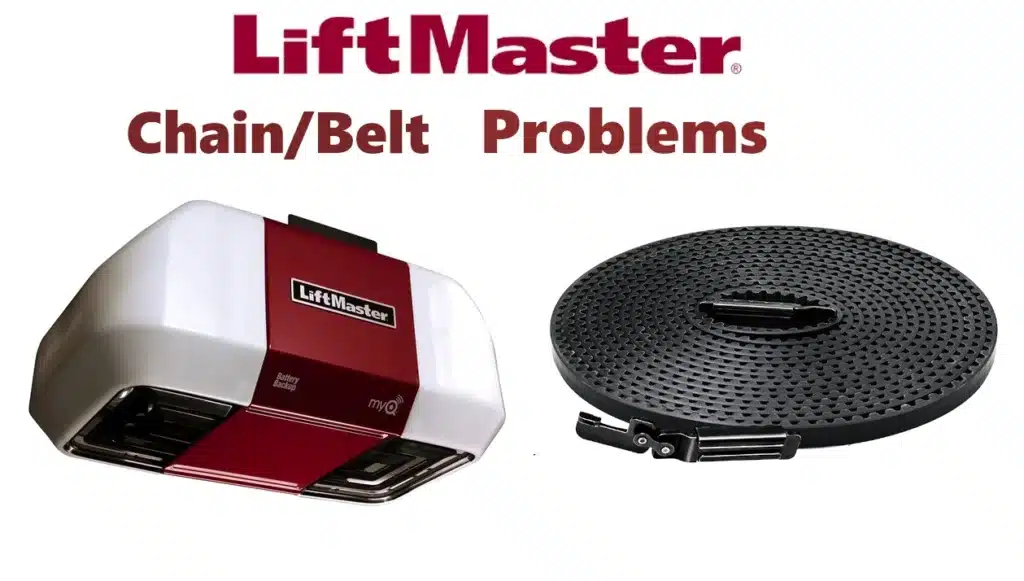
Proper chain or belt tension is crucial for smooth, efficient door operation. A loose chain/belt can cause jerky motion, noise, or the door reversing short of the floor; an over-tight chain/belt strains the motor and can cause premature wear.
According to LiftMaster (via Chamberlain), the correct slack for a chain on a T-rail opener is about ½ inch at mid-span, or ¼ inch on a standard (square) rail. German Garage Doors explains: “the proper tension… is 1/2″ (for T-Rail) or 1/4″ (for Square Rail)… A properly tensioned chain should make little to no noise”. If you hear chain knock or see visible sag, it’s time for a LiftMaster Garage Door Opener Chain/Belt Repair to restore proper operation and reduce strain on your system.
- Tools: You will need basic tools: typically a wrench or nut-driver (often 5/16″) to adjust the tensioner nuts, and possibly a ladder to access the opener trolley. Wear gloves to protect your hands, and be cautious around the door release rope.
- Adjusting a Chain Drive: First, close the door and disconnect the opener by pulling the emergency release rope straight down (or down and back, depending on rail type). This takes pressure off the chain. Locate the adjustment rod on the trolley: it’s a threaded bar about 5–7 inches long with two nuts (a locking nut and an adjustment nut). Loosen the locknut, then turn the adjustment nut to tighten the chain until the slack is correct (about ½″ for T-rail). Then secure the locknut again. A good rule: “better to be looser than tighter,” as overtightening can harm the opener. Finally, re-engage the release (push the trolley back into drive) and test the door.
- Adjusting a Belt Drive: Belt drives usually have a fixed motor mount, but some models (especially after replacing a belt) allow motor repositioning. DDM Garage Doors explains how to tension a LiftMaster belt: (1) Unplug the opener, (2) Loosen the four motor-frame bolts just enough so the motor can slide, (3) Raise or lower the motor to remove slack in the belt, keeping the belt snug but not excessively tight, (4) Align the motor pulley and belt with the clutch pulley, (5) Retighten the bolts and restore power. Then run the opener to confirm the belt moves smoothly without slipping.
- Routine Maintenance: Lubricate a chain drive once every 6–12 months with a garage-door specific lubricant (a light oil or spray made for chains). A dry or rusty chain will accelerate wear and noise. Do not oil a belt – wipe a rubber belt clean but do not apply lubricants, as they can cause slipping or deterioration. Inspect the chain/belt for wear or rust: replace a chain if rusted through, or replace the belt if cracked or fraying. Also check the trolley and sprockets for wear (replace if teeth are damaged).
When to Call a Pro: If tension adjustments don’t hold (nuts keep loosening), or if the chain/belt feels abnormally tight without reason, have a technician inspect the opener. Also call help if the sprocket or pulley looks damaged, or if the door still binds after tensioning (this might indicate track misalignment or wrong spring tension).
LiftMaster Garage Door Opener Logic Board Repair Guide
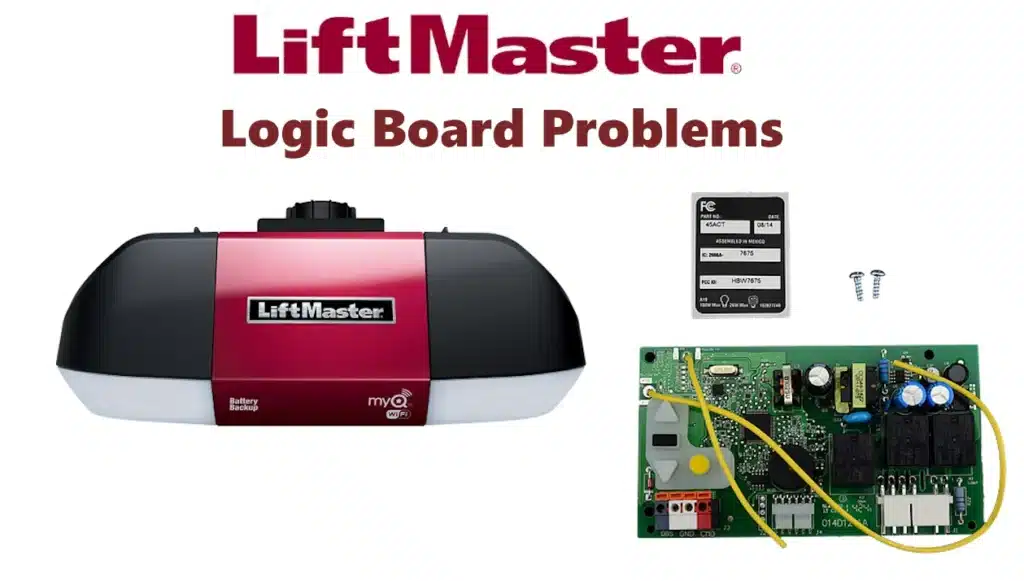
The logic board (control board) is the garage door opener’s “brain,” managing signals from remotes, sensors, and controls. When it fails, the opener can become completely unresponsive. DDM Garage Doors explains that circuit board failure “can cause all of the electronic components of the opener to fail, including the photo eyes, transmitters, and receivers.” In practice, a bad logic board might mean the door doesn’t move, the opener’s lights and indicators don’t respond, or even that sensors stop working despite being properly aligned.
These issues often lead to a LiftMaster Garage Door Opener Logic Board Repair, particularly when diagnostics reveal error codes like 3‑3 or 2‑5—both of which point to controller malfunction. If power cycling doesn’t help, logic board replacement is usually the next step.
Tools & Safety: Replacing a logic board involves wiring and electrical components. You’ll need a 1/4″ nut driver or socket for screws, a small flat-blade screwdriver or needle-nose pliers (to release tabbed wire connectors), and possibly a magnetic socket for hard-to-reach screws. As always, start by unplugging the opener to avoid shock. Wear safety glasses when reaching into the motor head, and keep the door locked down (or completely disconnected) so it cannot move.
- Prepare the Opener: Unplug power and swing down the light cover. Remove any light bulbs that may obstruct opening the front panel. If there are connected wires (like for a light kit or battery backup), note their colors but you’ll push out the wire-release tabs (orange plastic tabs) and disconnect them to remove the front panel.
- Remove Front Assembly: Carefully push the orange tabs on the bottom of the wire terminals to release the wire bundles. Then remove the three retaining screws holding the front assembly in place. Lift the assembly up slightly – watch for the bottom nut that may fall out – then turn the assembly over. Disconnect the remaining wire connectors on the back of the board (one black, one white) by pushing their tabs, freeing the old board.
- Install New Logic Board: Position the new board assembly upside-down as you did when removing the old one. First, connect the white (smaller) harness: push it onto the white 6-pin connector. Then connect the black harness to the remaining connector. (Ensure you match colors: typically the wire with a red stripe goes to the left terminal, and plain white to the right; another set with a black stripe left, gray right.) Then turn the panel right-side-up and seat the tabs into the opener housing (snap the bottom tab(s) in place first). Reinstall the three screws (top two first, then bottom middle), being careful not to overtighten and crack the new board.
- Reattach Cover and Rewire: Reinstall the light cover onto the new board if it didn’t come with one (aligning its tabs on the bottom of the assembly). Reconnect any wires you had removed (light kit, etc.) to the new board’s terminals. For the front assembly screws, tighten gently: DDM advises using a magnetic socket for the bottom screw and not to force it, as it has different threads.
- Power Up and Reprogram: After restoration, plug the opener back in. You’ll need to reprogram remotes and keypads since the board is new. Press the Learn/Smart button on the opener, then within 30 seconds press each remote button until the opener lights or beeps. If you have a keypad, press Learn and then enter a new PIN on the keypad and hold ENTER to sync it. Finally, adjust the opener’s force and limit settings if needed (DDM suggests starting with the force dial at 6 o’clock) and test the door’s operation.
When to Call a Pro: Replacing a logic board is moderately advanced. If you’re uncomfortable with opening the opener or handling electronics, hire a technician. Also call a pro if the door still doesn’t work after board replacement – it could indicate other hardware faults. If the original problem was sensor-related, remember to realign sensors after the swap.
Troubleshooting LiftMaster Garage Door Opener Wall Control Repair
The wall-mounted control panel (and wireless keypad, if present) is another common failure point. Problems usually stem from power or wiring issues, or from the panel’s lockout feature. First, check power and wiring. Superior Garage Door’s troubleshooting notes that an unresponsive panel often means it has no power.
Ensure any circuit breaker or GFCI feeding the opener is on. If the wall button box is plugged into an outlet, verify the outlet is live (some are switched by a light switch). Inspect the low-voltage cable from the opener to the panel: pull it out and back in securely at both ends to ensure good contact. These basic checks are typically the first step in any LiftMaster Garage Door Opener Wall Control Repair, especially when the panel appears dead or unresponsive.
- Verify Power & Connections: If the wall control is battery-powered (older models), replace its batteries. For wired controls, there is no battery – power comes through the opener. Check that the opener’s wires (usually two white or orange wires in the panel) are firmly attached. Superior Door suggests “verifying wiring connections” if buttons fail. A loose or corroded connection can make the panel appear dead.
- Lock Feature: Many LiftMaster wall stations have a lock/vacation mode. If enabled, the panel may flash or display a lock icon, and all commands (even from the wall) will be ignored. If your panel’s light is blinking or it shows a padlock, press and hold the lock button on the panel for about 2 seconds to clear it. (On some newer wall consoles, the LED will stop flashing when unlocked.) Note that in lock mode, neither remotes nor the wall button can activate the opener, so be sure it’s disabled.
- Reset the Panel: Try resetting the console. Some wall stations have a tiny reset button: press and hold it for 10 seconds (or follow your manual) to reboot the panel. Superior Door also suggests performing a factory reset if problems continue – consult your owner’s manual for the exact sequence. Often this clears any software glitch or misconfiguration.
- Clean or Replace: If a keypad or panel button is sticky, gently clean it. If the display or LEDs on the wall control are dim or flickering, it may be failing and need replacement. Repair kits or new wall consoles are inexpensive and can be swapped by reattaching the two low-voltage wires (no electrician needed).
When to Call a Pro: If the panel still won’t power up or respond after checking breakers, locks, and wiring, call a technician. They can diagnose deeper wiring issues in the opener head or replace the panel correctly. If you’re not sure how to reset the panel or it’s behaving erratically, an opener tech can safely reprogram or replace it.
LiftMaster Garage Door Opener Power Supply Repair: No Power or Dead Opener?
If your LiftMaster opener has no power (no lights on the unit, no response at all), investigate the electrical supply. As Superior Door notes, check the circuit breaker and fuse box first. Reset any tripped breakers or replace blown fuses. In many garages, the opener outlet is tied to a wall light switch – ensure any wall switch is turned on. (If the outlet itself has a switch, flip it.) If the opener is on a separate dedicated circuit, make sure that breaker is fully off and on. Sometimes breakers trip half-way. These are all standard checks during a LiftMaster Garage Door Opener Power Supply Repair, where restoring electricity to the unit is the first and most essential step.
- Test the Outlet: Plug in a lamp or use a tester on the outlet behind the opener. If it has no power, the issue is upstream (breaker, switch, or wiring). If the outlet is live but the opener is dead, the problem is inside the opener.
- Check Opener Fuse: Some LiftMaster openers have an internal fuse on the logic board. Refer to your model’s manual. If accessible, check and replace a blown fuse.
- Battery Backup: If your opener has battery backup, note that after an outage it will run on the battery. In an extreme case, if the battery is dead or shorted, it could prevent mains operation. Unplug the battery and see if the opener powers on normally (only applicable to models with backup).
- Surge and Transformer: A lightning strike or power surge can damage the opener’s internal transformer or control board. If there are still no signs of life after all external power checks, the control board might have failed entirely (see Logic Board section).
If you restored power but the opener still behaves oddly (lights dim, beeps every 30s, etc.), refer to your owner’s manual or LiftMaster support. For example, a known issue after outages is that the opener beeps to indicate it’s on battery power (in which case it’s operating but needs mains restored).
When to Call a Pro: Electricity is dangerous. If a breaker or wiring issue is suspected, call an electrician. If the outlet is fine but the opener remains dead with no blown fuse to replace, call a garage door technician – likely the internal electronics need repair.