


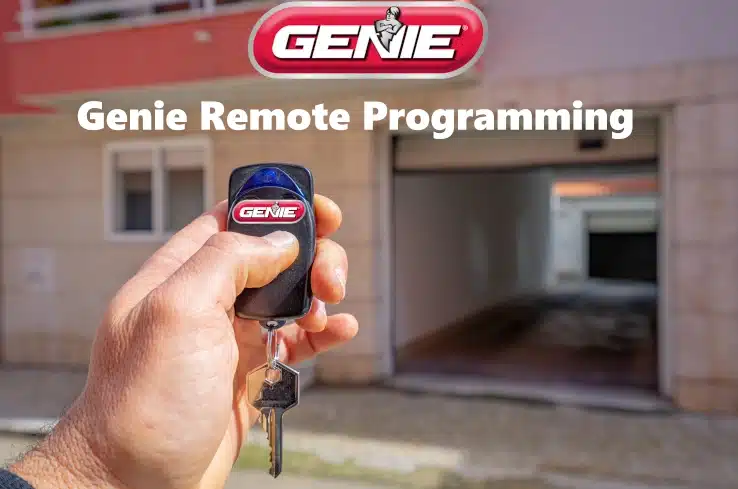
Genie garage door opener remotes – including popular models like the 3-button G3T-R, 1-button G1T-BX, GICT390 series, ACSCTG universal remotes, and others – share similar programming steps. This guide provides step-by-step instructions to pair Genie remotes with your opener, program them to in-vehicle HomeLink systems, reset/clear codes, troubleshoot common issues, and tips for older Genie units. Follow the headings and steps below for a structured walkthrough.
Pairing Genie Remotes with Genie Garage Door Openers
Locate the Opener’s Learn/Program Button: All Genie openers have a learn mode button on the motor unit used for programming. Newer Genie models (∼2011–present) use a PROGRAM (or “PRGM/SET”) button (often found under the light lens cover), whereas 1995–2011 Genie units have a smaller Learn Code button. Pressing this button puts the opener into programming mode (an LED will flash, indicating it’s ready to learn a remote). Ensure the garage door area is clear of people/objects before proceeding.
Step-by-Step Genie Remote Programming:
Once you’ve found the learn button, follow these steps to pair your Genie remote with the opener:
- Put the Opener in Programming Mode:
- For newer Genie openers (with a PROGRAM/SET button): Press and hold the Program button until the round LED turns blue, then release. The small round LED will go out and the long LED will start flashing purple. (This indicates the opener is in learn mode.)
- For older Genie Intellicode openers (with a Learn Code button): Press and release the Learn Code button once. A red LED indicator on the motor will begin blinking, meaning the unit is in programming mode.
- Program the Remote to the Opener:
Stand a few feet back (5+ feet is recommended) and slowly press and release your desired remote button two times. Wait about 2 seconds between presses. The opener’s indicator LEDs should flash and then turn off, signaling that the remote’s code was accepted.- If the opener’s LED did not flash or go off after two presses, you may have pressed the remote too quickly or lightly. Continue pressing the remote button (up to 4–5 times total, pausing between presses) until the opener acknowledges the code.
- Test the Remote: Press the same remote button a third time. The garage door should open or close, confirming successful programming. If the door does not respond, repeat the steps above, ensuring you time the button presses correctly and that the opener was in learn mode.
- Exit Programming Mode: The opener will exit learn mode automatically (usually when the LED indicators go off or after about 30 seconds of inactivity). Programming for that remote button is now complete.
🔸 Tip: A Genie 3-button remote (e.g. G3T-R) can control up to three different openers – one door per button – if programmed to each unit individually. Likewise, a 2-button remote can control two openers, etc. You can also program multiple remotes to the same door opener (up to the opener’s memory limit) so that each family member has their own remote.
Programming the Genie Universal Remote (ACSCTG):

The ACSCTG 2-button universal remote works with Genie Intellicode as well as many other brands. Its programming involves an extra step to select the correct brand ID code for your opener:
- First, activate the remote (pull out any battery pull-tab). Then press and hold both remote buttons until the LED begins flashing red, then release.
- Next, enter the Genie code by pressing one of the remote buttons a specific number of times (according to the chart in the instructions) to set it to Genie Intellicode mode. For Genie openers, this typically involves a certain number of presses (e.g. if Genie is ID #5, press the button 5 times). Wait for the remote’s LED to blink green to confirm the code was stored.
- Finally, press the opener’s Learn/Program button (putting the opener in learn mode), then press and release the chosen remote button every 2 seconds until the door responds. Once the door operates, the remote is programmed. Repeat for the second button if you want to program another door (it can even be a different brand).
(The Genie ACSCTG universal remote can effectively replace the older ACSCTG Type 1, 2, 3 Intellicode remotes and also learn other brands, making it a versatile choice. Always refer to the official programming chart for the exact number of presses required for your opener’s brand.)
Programming a Genie Remote to a Vehicle’s Built-in System (HomeLink®)
Many vehicles come with a built-in garage door control system, such as HomeLink® (commonly a trio of buttons on the visor with a house icon) or Car2U. You can program your Genie opener to work with these in-car buttons, allowing you to open the garage without a separate remote. Below are general steps for HomeLink; Car2U is similar in concept (with some differences noted):
- Clear the HomeLink memory (if necessary): If your car’s HomeLink has stored codes (for example, if it was programmed to a previous garage), it’s best to reset it first. To clear HomeLink, press and hold the outer two buttons (the first and third HomeLink buttons) until the HomeLink indicator LED starts blinking slowly, then changes to a fast blink (this usually takes ~10–20 seconds). Release the buttons once it blinks rapidly. This wipes any old programming from all HomeLink buttons (you only need to do this once). *(Note: Clearing will remove all previously programmed doors from the HomeLink system.)
- Train HomeLink with a Genie remote (“Teaching” the signal): Choose which HomeLink button in your vehicle you want to use for the Genie opener. Hold your Genie remote handheld transmitter a few inches away from the HomeLink panel. Press and hold the Genie remote’s button you wish to use while simultaneously pressing and holding the chosen in-vehicle HomeLink button. Continue holding both until the HomeLink indicator LED changes from a slow blink to a rapid blink, then release both buttons. This step “teaches” the HomeLink the Genie remote’s rolling-code signal. (Some vehicles may flash their headlights or make a chime when the programming is successful.)
- Link HomeLink to the Genie Opener (rolling-code synchronization): Now you need to introduce the programmed HomeLink button to your garage door opener, similar to adding a new remote:
- If you have a Newer Genie Opener (with a PROGRAM button): Press and hold the PROGRAM button on the Genie powerhead until the round blue LED comes on, then release the button. The long purple LED will begin flashing (openers with Genie Intellicode II will flash purple in program mode). Within 30 seconds, go to your car and press and hold the trained HomeLink button for ~2 seconds, then release. Press that same HomeLink button again for ~2 seconds, then release. The opener’s long LED should flash blue and then turn off, indicating the HomeLink signal was accepted. Now press the HomeLink button a third time; the door should activate (open/close).
- If you have an Older Genie Opener (with a Learn Code button): Press and release the opener’s Learn Code button. The small red LED on the opener will start blinking. Within 30 seconds, go to the vehicle and press the programmed HomeLink button once. The opener’s red LED should stop blinking and glow solid red, indicating it received the signal. Now press the HomeLink button again; the opener’s red LED light will turn off. The HomeLink is now added. Test by pressing the HomeLink button once more – the garage door should operate.
- Confirm and save: The HomeLink button should now function just like your Genie remote. You might need to turn the vehicle ignition on during use (some cars require ignition for HomeLink to work). Finally, save any settings if your vehicle’s system asks for it (most just remember automatically). Your built-in remote is now ready to use.
Car2U Systems: If your vehicle has a Car2U in-car transmitter (found in some brands like Lear Car2U, often with three LEDs above the buttons), the programming is slightly different. By default, Car2U often assigns one of its buttons to Genie openers from the factory. For example, Car2U’s Button 1 is usually pre-set for Genie/Overhead Door Intellicode receivers. To program Car2U, you typically: clear its memory (hold two buttons until an LED blinks), then simply press the Genie-assigned button and the opener’s learn button. The detailed steps can be found in the Genie manual or Car2U guide. (Car2U may use a different sequence of presses; refer to your vehicle manual or Genie’s support PDF for Car2U.)
🔎 Official Resources: Genie provides a HomeLink programming guide on their website, which includes vehicle-specific tips and a PDF with illustrations. If you run into trouble, check your car’s owner manual and the HomeLink website for manufacturer-specific instructions, as some vehicles (or older HomeLink versions) might require a compatibility bridge or have additional steps.

")


