
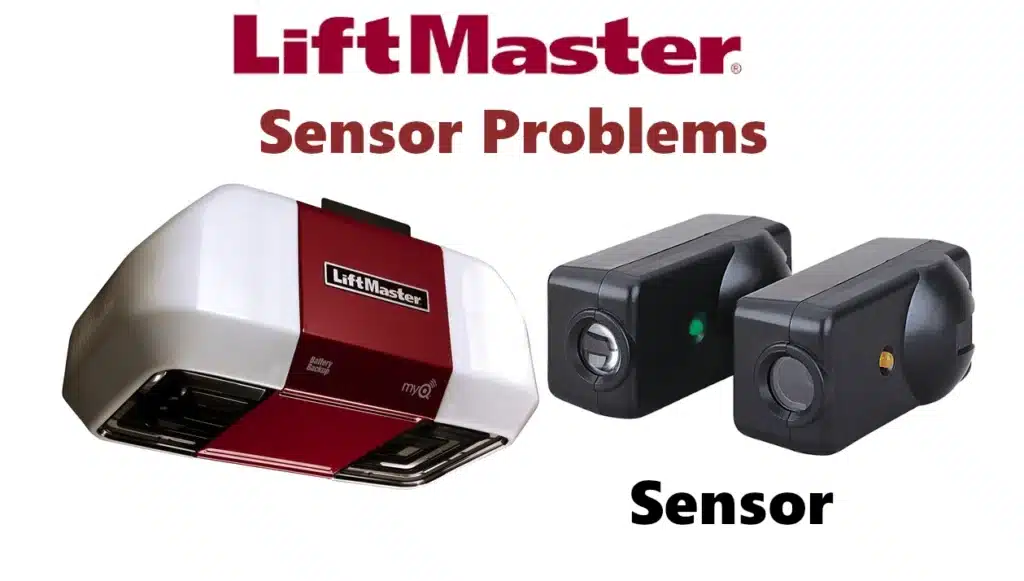
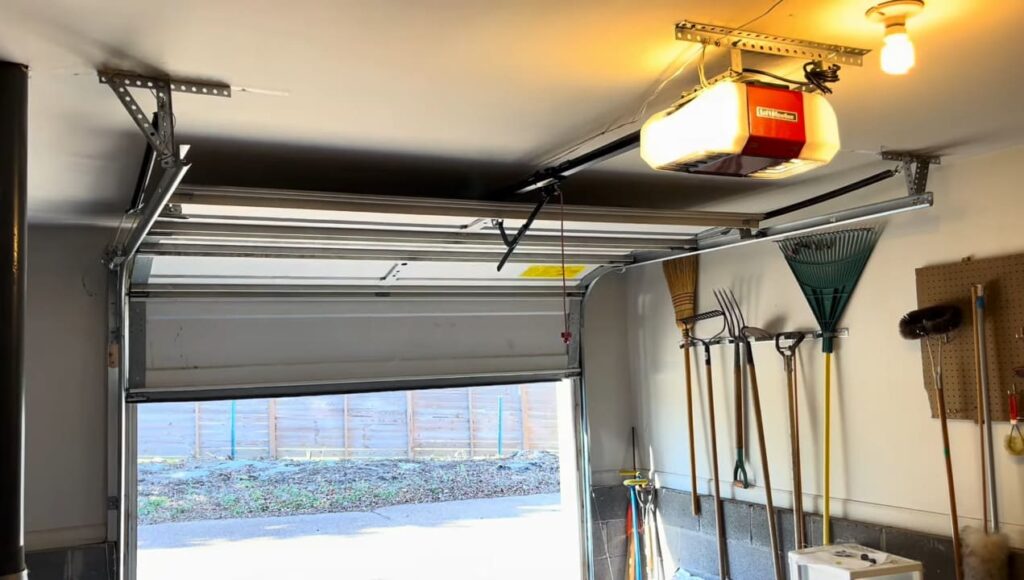
Misaligned or faulty safety sensors (photo-eyes) are a very common cause of garage door closing problems. LiftMaster openers from 1993 onward have two sensors at the base of the door tracks which must be aligned and unobstructed for the door to close. If there’s an issue, the door will refuse to close (it may start down then reverse), and the opener’s light bulbs will typically flash 10 times to signal a sensor problem. Here’s how to troubleshoot sensor issues:
1-Identify Sensor Status:
Stand inside the garage and look at the two sensors (small boxes near the bottom of each track). One is the emitter (yellow/amber LED) and one is the receiver (green LED). Normal condition is: the amber LED on the sending sensor is solid ON (indicates it has power), and the green LED on the receiving sensor is solid ON (indicates it is aligned and detecting the beam). If the amber light is off, that sensor isn’t getting power – check the wiring to the opener. If the green light is off or flickering, the beam is not solid – the sensors are misaligned or something is in the way.
2-Check for Obstructions:
Make sure nothing is blocking the sensor “eyes”. Even a small object, such as a toy, garden tool, or accumulated debris or spider webs, can interrupt the infrared beam. Sunlight shining directly into the sensor can also cause interference. If the door won’t close and the opener lights flash, ten flashes indicates something tripped the sensor beam. Remove any obvious obstacles from the sensor path and attempt to close the door again.
3-Align the Liftmaster Garage Door Sensors:
Misalignment is the #1 sensor issue. Each sensor is attached to the track via a bracket and wing nut that allows adjustment. Loosen the wing nuts and gently adjust the sensors so that they point directly at each other at the same height. When properly aligned (Alignment Steps ), the receiving sensor’s green LED will light up steady. You might need to move one sensor up/down or side-to-side until the green light stays on continuously.
Tip: It’s often easiest to align if you bypass the sensors temporarily by holding down the wall button (constant pressure on the pushbutton can override the sensors in many LiftMaster openers). If the door closes when you hold the button, that confirms a sensor issue. Realign until the door closes normally with a single press.
4-Clean the Sensor Eyes:
Dirt, dust, or spider webs on the sensor lenses can weaken the infrared beam. Use a soft dry cloth to wipe the lens of each sensor. Avoid using solvents or water; if needed, use a mild cleaner on the cloth and dry thoroughly. After cleaning, check the alignment lights again.
5-Check Sensor Wiring:
If alignment and cleaning don’t get both sensor LEDs to glow steady, inspect the wiring. Each sensor has two wires running back to the opener’s motor unit. Ensure these small gauge wires are firmly connected at the opener’s terminals (usually white wires to a white terminal, and white-with-black-stripe wires to a grey terminal). The wires should not be broken or shorted. A common issue is a staple cutting through the insulation or a wire pulled loose.
A diagnostic code 1-2 on LiftMaster openers points to sensor wires shorted or reversed. Make sure the wires are connected to the correct terminals and not touching each other (bare copper should not touch bare copper of the other conductor). Reattach or replace any damaged wires as needed.
6-Sensor Light Behavior:
After adjustments, observe the garage door sensor colors. Both LEDs should be solid: the sending sensor (amber LED) is usually steady regardless, and the receiving sensor (green LED) should be steady green when aligned. A blinking green LED on the sensor means it’s misaligned – adjust it until it’s solid. If the green LED never comes on and you’ve checked wiring and alignment, the sensor could be defective.
7-Test the Door Closure:
Once the sensors show proper alignment (solid lights) and no obstructions, test the opener. The door should close normally without reversing. If the door closes, the sensor issue is resolved. If it still won’t close and you’re certain the sensors are correctly set, the problem may lie elsewhere (e.g., logic board or a different error – check codes or call a technician).
Note: Never permanently bypass or disable the safety sensors – they are a vital safety feature to prevent injury or damage. You can override them temporarily by holding the wall button in continuous until the door fully closes (useful if you need to close the door when a sensor has failed), but in that case get the sensors repaired or replaced as soon as possible. If you suspect sensor damage (e.g., one was struck by something and broken), installing a new safety sensor kit is the proper fix.
Fortunately, sensors are relatively inexpensive and easy to replace with basic wiring. After replacement, ensure they are aligned and working – the door must reverse when the beam is broken, as per safety standards.

too senstive door sensor. quits working. i’m a hert patient and live alone. you can go near the s4nsor without it going out line. my system is new, tored of this bs, i understand saftey but this is over kill!
We understand how frustrating it is to deal with overly sensitive safety sensors, especially if you’re living alone. Here are some steps that might help:
✅ Make sure the sensors are perfectly aligned
✅ Clean the lenses from dust or cobwebs
✅ Secure them firmly to avoid vibration
✅ Block direct sunlight or glare if necessary
✅ Check for small invisible obstacles
✅ Try resetting the opener
✅ Some openers allow override by holding the wall button