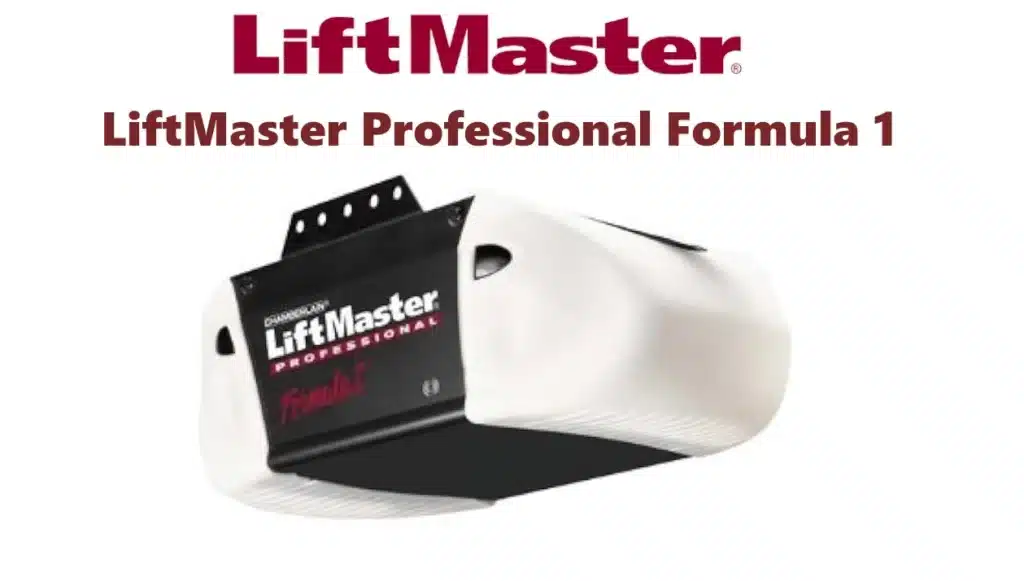
The LiftMaster Professional Formula 1 series is a heavy-duty residential belt-drive opener by Chamberlain/LiftMaster. It uses a 120 V AC motor (approximately 6 A) with a ½ HP output driving a belt-driven trolley assembly. These models (e.g. 2280, 3280) were manufactured from ~2006 onward. The opener includes two built-in light sockets (standard 60 W bulbs or equivalent LEDs), a multi-function wall console, and supports rolling-code Security+ remotes/keypads. The unit must be mounted at least 7 ft above the floor and on a properly balanced, lubricated door. The installer must disable any door locks or pull-ropes, and follow safety labeling and clearance requirements as specified in the manual.
LiftMaster Professional Formula 1: Safety, Security, and Smart Access
LiftMaster Formula 1 Safety Features: Infrared Sensors and Auto-Reverse
Includes the standard “Protector System” infrared sensors. If the door encounters an obstruction or the beams are misaligned/blocked, the opener will auto-reverse. (In fact, flashing opener lights indicate misaligned/obstructed sensors.) The manual instructs testing reversal by placing a 1½″ object on the floor – the door must reverse upon contact.
LiftMaster Formula 1 Security: Rolling Codes and PosiLock® Protection
Uses LiftMaster Security+ (rolling-code) technology to defeat code-grabbers. Each remote or keypad press sends a new encrypted code. Many professional installers upgrade to Security+ 2.0, which adds further scrambling – in this opener, remotes/keypads ship with 315 MHz Security+ rolling codes. The opener also has the PosiLock® anti-burglary lock; if the door is closed and latched, force on the door cannot move it outward.
LiftMaster Formula 1 Lighting: Twin Bulb Sockets and Compatibility
Two lamp sockets provide garage illumination. (Many owners install LiftMaster LED bulbs (model LMLED1, 60 W‐equivalent) for longer life.) There is no automatic timer-to-close feature on these models (older Formula I units had no timer), but the door may be closed via remote, keypad, or wall console.
LiftMaster Formula 1 Remote and Keypad Compatibility
The opener was factory-programmed for use with LiftMaster/Craftsman 3‑button Security+ remotes and keyless entry pads. Typical remotes (e.g. 973LM) and keypads (377LM, 315 MHz) work. Programming is done via the “Learn” button on the motorhead (press it to enter pairing mode, then press the remote button). The wall console (door control) can also lock out remotes if needed.
LiftMaster Professional Formula 1 Installation Guide
Preparation: Read all warnings. As per the manual, the opener must only be installed on a properly balanced garage door. If the door binds or is out-of-balance, do not proceed (springs should be adjusted by a trained technician first). Disconnect any manual locks or ropes, and test the door: lift it halfway and release – it should stay open by itself if balanced. Ensure a standard 120 VAC supply is available near the opener’s intended mount location.
Mounting: Attach the metal header bracket securely into wall studs above the door header. Assemble the rail and trolley per instructions, then mount the motor unit to the 2×4 (supplied) or ceiling bracket. The top of the opener should be about 7 feet above the floor. Connect the trolley arm to the door bracket (on the top section of a sectional door, or to a jamb bracket on a one-piece door). Tighten all hardware and attach the emergency-release rope (handle) to the trolley. Note: the opener should not be energized until instructed (no power until wiring is complete).
Wiring: Install the two safety reversing sensors on the inside walls flanking the door, about 6″ (15 cm) above the floor. The sensor lenses must face each other (aim the green LED sensor to the yellow LED sensor). Securely run and connect the low-voltage wiring from the sensors to the motor unit. Mount the wall-mounted door control in sight of the door (at least 5 ft up, away from moving parts) and connect its two wires to the motor unit terminals. Do not connect the power cord until all wiring is finished.
Programming & Testing: Once mechanically installed and powered, program your remotes/keypad by using the Learn button: press and release Learn, then press the remote button within 30 seconds. Check the wall console and remote functions. Align the sensors (their LEDs should glow solid when aligned). Finally, test the safety reverse: with the door down, wave a 1½″ tall board under it as it closes – the door must reverse. Adjust the travel limits or closing force (via the back-panel knobs) if needed to ensure the door closes firmly but reverses on light obstruction. The manual’s adjustment section describes how to set these forces.
LiftMaster Professional Formula 1 Troubleshooting Common Issues
- Remote/pad not working: First, verify batteries. Then re-sync the device via the Learn procedure (hold Learn ~6 seconds to erase all codes, then reprogram each remote). If only certain remotes fail, erase their code and re-add them. If only the remote fails to close the door (but the wall control still works), check the safety sensors – a misaligned or blocked beam will prevent remote closing.
- Door won’t close or auto-reverses: If the opener lights blink when trying to close, it indicates sensor trouble (wiring, alignment, or blockage). Ensure both eyes are aligned (LEDs steady), clean, and unobstructed. If the door still auto-reverses with no visible obstacle, test the door balance (pull the release and manually move the door). An unbalanced door can trigger the reversal. After confirming balance, you may need to increase the close (down) force slightly. Also check that the down travel limit isn’t set too far (adjust with the limit screws if the opener slows before hitting the floor).
- Door won’t open: If the opener hums but does not move the door, the chain/belt or motor gear may have become detached or stripped. Inspect the belt tension (it should be fairly tight) and the drive gear on the motor. Also check the up travel limit setting (if it’s too short, the door will stop early). If the sensors flash, that shouldn’t prevent opening – but a reversed wire or short in the sensor circuit could disable the opener. With power off, inspect sensor wiring for shorts.
- Safety Sensor problems: A misaligned sensor pair often prevents closing via remote. Note: if a sensor is not correctly installed or misaligned, the door can still be closed by holding the wall control’s down button or the keypad (per the manual). Use this to confirm the issue is sensor-related. Clean sensor windows and tighten their brackets. Replacement sensor kits (e.g. LiftMaster 041A5034R) are available if needed.
- Miscellaneous: Unusual noises or grinding may indicate worn gears or a failing motor capacitor. The parts list identifies the capacitor as 30B532 (1/2 hp) – if the motor stalls or only makes a humming noise, the start capacitor or motor assembly may need replacement. Also ensure the trolley’s belt cap is properly secured, as shown in the manual diagrams. Check the manual for LED error codes or diagnostic flashes on the logic board if doors are behaving erratically.
LiftMaster Professional Formula 1 Maintenance Tips
- Regular Testing: Monthly test the auto-reverse by placing a piece of wood (1½″ high) on the floor under the descending door – it must reverse every time. This is mandated by safety standards.
- Hardware Inspection: Every 6–12 months, inspect all bolts and brackets. Tighten any loose fasteners on the header, rail, and trolley. Ensure the emergency-release rope is intact and at the correct height (~6 ft above floor).
- Sensor Care: Keep the photo-eyes clean of dust, spider-webs, or paint. Check their alignment LEDs to ensure they glow steadily. Wipe lenses with a soft cloth if dirty.
- Door Hardware: Though not part of the opener, lubricate door rollers, hinges, and springs per the door manufacturer’s instructions. A poorly maintained door or frayed cables can overload the opener.
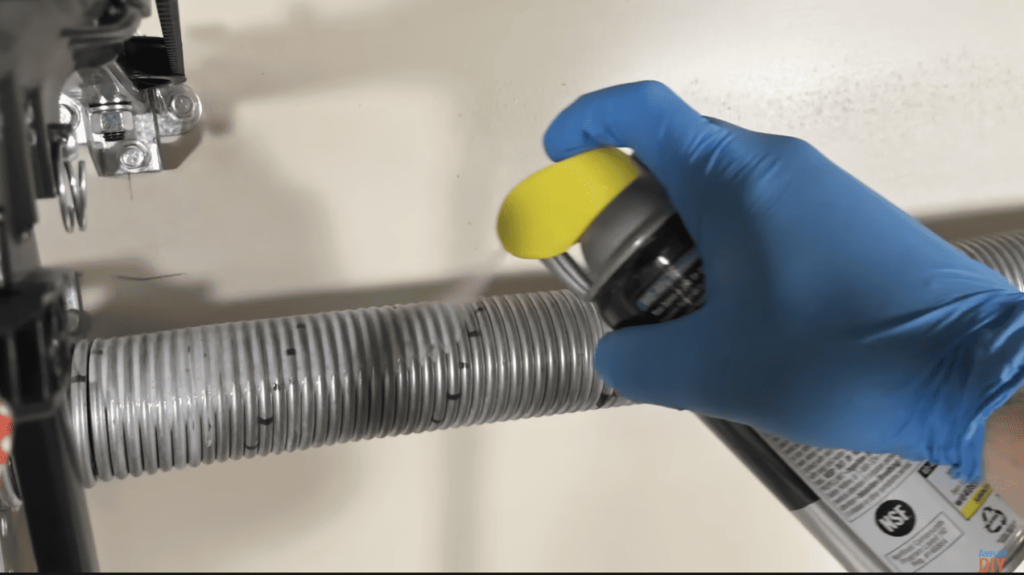
- Opener Lubrication: The belt-drive itself is largely maintenance-free (the belt does not require oiling). Some owners occasionally apply a small amount of lithium grease to the trolley chain or rail (if present) or the worm gear; however, use only manufacturer-recommended lubricants.
- Light bulbs: Replace lights as needed. Consider using the LiftMaster LED retrofit bulb (LMLED1), which uses 8 W for a 60 W equivalent. These bulbs minimize interference and last thousands of hours.
- Firmware/updates: This older opener has no user-serviceable firmware. Keep the logic board and wiring dry and avoid power spikes (a garage door surge protector is a good accessory).
- Professional Service: After ~10–15 years of heavy use, internal gears and motors wear. If the opener becomes unreliable or noisy, consult a qualified installer for inspection or part replacement.
LiftMaster Formula 1 Compatibility (Remotes, Keypads, Smart Home)
- Remote Controls: This opener is compatible with LiftMaster/Craftsman Security+ 315 MHz remotes (e.g. 973LM 3-button, 875LM, etc.) and with keyless entry keypads like the LiftMaster 377LM/888LM. Programming follows the Security+ scheme. It is not compatible with older fixed-code (non-rolling) remotes. You can store multiple remotes/keypads; to clear all devices, hold the Learn button (~6 s) to erase codes, then re-add as needed.
- Wall Control Panels: The opener comes with its own multi-function wired wall console. It may also work with LiftMaster multi-button wireless control panels (e.g. 378LMW, 882LMW) that support Security+ models. Note that in 2022, LiftMaster/Chamberlain recalled certain wall console models (889LM series) manufactured Mar–Oct 2022; ensure your console model is not affected (Formula I openers typically used older consoles, not the recalled MyQ Wi-Fi panels).
- Smart Home (MyQ, HomeKit, etc.): The Professional Formula I is not Wi-Fi or MyQ-enabled out of the box. It has no built-in network module. However, you can add smartphone control using LiftMaster’s retrofit kit: the MyQ Internet Gateway (828LM) plus the MyQ Control Panel (888LM). This kit (LiftMaster part MYQPCK) is designed for any LiftMaster opener made since 1998. When installed, you use the myQ smartphone app to monitor and control the door. Alternatively, third-party devices (like Garadget or Chamberlain HomeLink kits) can interface via the wired push-button terminals. The opener is also compatible with HomeLink and Car2U vehicle systems once remotes are learned into those systems.
Known Issues, Limitations, and Recalls
- No Official Recalls: There are no recalls specifically for the Formula I opener itself. (As noted, only certain wall console accessories were recalled.) However, because this model is older, parts availability has dwindled: be sure to use genuine LiftMaster replacement components when servicing.
- Limitations: The ½ HP rating is sufficient for most residential doors, but extremely heavy or oversized doors may strain the opener. There is no battery backup – in a power outage the door cannot be operated electrically (it must be opened manually using the release). There is also no built-in Wi-Fi or Bluetooth (smart home integration requires the add-on kit). The opener’s lifetime is typically 10–20 years under normal use; excessive force settings or a binding door can shorten its life.
- Common Wear: Some owners report that, over many years, the belt or worm gear may stretch or wear, causing skipping or reduced lift. The replacement motor-and-gear assembly is available (LiftMaster part 41C4842). Trolley wheels and sprockets can wear out, so inspect for cracking or metal shavings. If the door “creeps” off track, check the opener’s tension and the door hardware (tracks/springs).
- Safety Equipment: Always ensure the IR sensors are functioning. In rare cases, sensor wiring may get pinched or chewed by rodents – inspect any animal damage. Also, do not disable the auto-reverse feature or Posilock override.
LiftMaster Professional Formula 1 Manuals and Parts
The full Owner’s/Installation Manual (for models 2280-976, 3280, etc.) is available online. For example, SearsPartsDirect provides the Chamberlain 2280 manual (Rev H) for free. Official LiftMaster support and archived manuals can be found on Chamberlain’s website. These manuals detail every step, adjustment, and part (a PDF is highly recommended during installation/troubleshooting).
Replacement parts for the Professional Formula I series are still available through LiftMaster/Chamberlain or authorized dealers. Common parts include: the drive belt (LiftMaster 41A5434-11A for a 7 ft rail), the motor/gear assembly (41C4842), logic circuit board (41AB050-2M), and the safety sensor kit (041A5034R, now superseded by 41A6034R). Keyless entry pads (377LM) and remotes (970LM, 973LM, 893LM, etc.) are sold separately. LiftMaster also offers accessory upgrades (surge protectors, advanced wall consoles, LED bulbs, etc.). When ordering parts, match the model number (e.g. 2280-976C) and wiring frequency (315 MHz) of your opener. If a part has been discontinued, many third-party suppliers (Amazon, garage-door specialists) carry compatible replacements.
Sources: Manufacturer manuals and parts lists, Chamberlain/LiftMaster product literature, and technical guides/forums provided the above details. The information above is based on official LiftMaster/Chamberlain documentation and reputable technical sources.