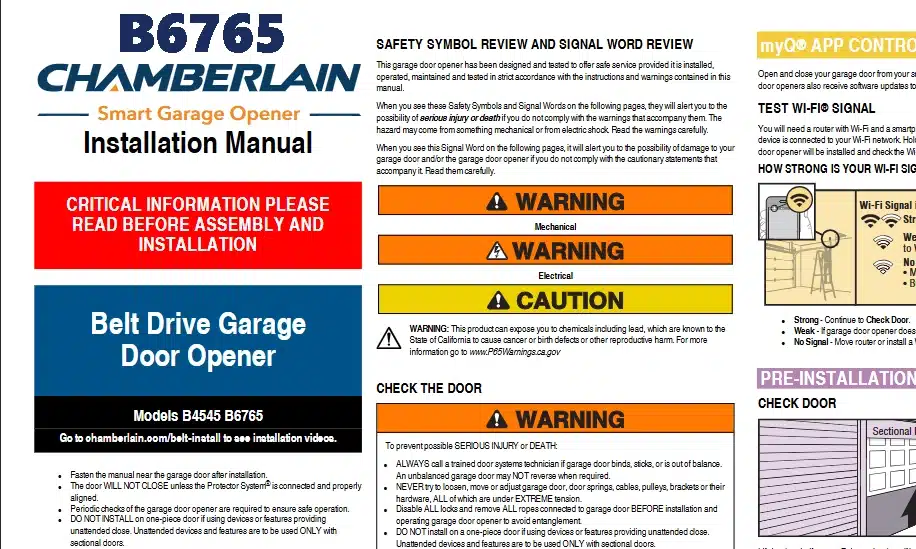
The Chamberlain B6765 is a premium 1.25 HP belt-drive garage door opener with built‑in Wi-Fi, integrated camera, and battery backup. Its Chamberlain garage door opener owner’s manual (English, 64 pages) provides detailed guidance on every aspect of the unit – from unboxing and setup to advanced features and troubleshooting. For example, the manual’s index lists sections on Preparation, myQ® App Control, Installation, Electrical & Wiring, Adjustments, Camera, Operation, Maintenance, Troubleshooting and more. Key features highlighted in the manual (and product literature) include:
- Quiet 1.25 HP DC Belt Drive: A high-grade belt drive offers smooth, whisper-quiet operation. The specifications explicitly list “1-1/4 HP” with belt drive type.
- Integrated Smart Camera: A built-in motion-activated 1080p camera streams live video (with 360° adjustability and night-vision) to your smart device. It even provides two-way audio so you can listen and speak through the opener.
- Wi-Fi and myQ App Compatibility: The opener connects to your home Wi-Fi and works with Chamberlain’s myQ® smartphone app. The manual guides users to “open and close your garage door from your smartphone”, receive real-time alerts, and set closing schedules.
- Ultra-Bright LED Lighting: The B6765 includes corner-to-corner LED lighting for maximum visibility in the garage.
- Battery Backup Power: A built-in battery pack keeps the opener running (at reduced speed) during power outages. The specs confirm “Battery Backup: YES”.
- Accessories Included: Two remote controls are included, and the system supports an illuminated wall control panel and optional wireless keypad. All standard accessories and mounting hardware are documented in the parts list section of the manual.
Together, these features make the B6765 a “Secure View & Ultra Bright Smart Garage Opener” as described by Chamberlain. The owner’s manual provides a full explanation of how to install and use these features safely and effectively.
chamberlain garage door opener owner’s manual: Installation Steps
The owner’s manual contains a step-by-step installation guide. Before starting, it emphasizes safety checks: for example, verify the garage door is balanced (it must stay halfway open on its own) and remove any locks or ropes. Once ready, key installation highlights include:
- Mount the header bracket: Attach the metal header bracket securely to a solid support on the wall or ceiling. The manual stresses that the header bracket “MUST be RIGIDLY fastened to structural support”, and never to drywall. Use concrete anchors or lag screws as needed. Align the bracket above the door by marking the door’s centerline on the header. The bracket should sit the specified distance above the highest point of the closed door (typically 2 inches above the top of travel for most doors).
- Assemble the rail and trolley: Attach the front rail to the center rail(s) and insert the trolley (the door carrier). The manual instructs users to snap together the rails and slide the trolley onto the last rail section. Insert the provided bolt and nut to lock the trolley in place. (Keep fingers away from joints while assembling.)
- Install the motor unit: Once the rail and trolley are assembled, hang the opener head from the header bracket (using the supplied support beam if needed) and attach it to the rail tab. Secure the end of the rail to the ceiling or wall with the reinforcing brackets provided. (Detailed diagrams in the manual show the correct assembly.)
- Connect power and wiring: Plug the opener into a grounded 120 V AC outlet. The manual warns “ONLY operate garage door opener at 120 V, 60 Hz” to avoid damage. Install the wall control by running low-voltage cable from the opener to the pushbutton panel inside the garage. Install the safety reversing sensors on each side of the door, about 6 inches above the floor, making sure they face each other with no obstructions between them. (The manual repeatedly cautions: “The door WILL NOT CLOSE unless the Protector System® is connected and properly aligned.”. In other words, if the sensors aren’t aligned, the opener will not drive the door.)
- Test and adjust: After wiring, the manual advises testing door balance and safety reversal. The door should reverse when a 1½-inch obstacle is placed on the floor (testing the safety sensors). If the door doesn’t move or the opener’s lights blink, recheck sensor alignment. Fine adjustments (force, travel limits, etc.) are covered in later sections of the manual.
After installation, the opener’s cover is secured and any hanging hardware or emergency release rope is put in place. Two people are recommended for many of these steps. The manual’s illustrations guide installers through all these stages safely and in the correct order.
chamberlain garage door opener owner’s manual: Programming & Controls
Once installed, the manual walks users through configuring the opener:
- Setting up myQ App: The quick-start section guides you to test your Wi-Fi signal at the install location, then download the myQ® smartphone app. It says to “Download the myQ® App, Set up an account and connect.”. With the app, you can open/close the door remotely and get alerts. In fact, the manual highlights that you can “open and close your garage door from your smartphone” and receive alerts or schedule closing times.
- Wall Control Panel: The built-in LED wall console is programmed by using menu buttons. The manual explains how to set the door’s system clock, enable/disable the keypad, lock out remote controls, and trigger a door cycle. (For example, it warns that a flashing time display means the unit has no power or battery.)
- Remote Controls: Instructions are provided to program the two included remotes. Typically, you press the “learn” button on the opener (hidden under the light cover) and then press a button on the remote to sync them. The manual also covers adding a wireless keypad by setting the keypad’s code and teaching it to the opener. (It notes the remote uses a 3 V CR2032 battery, which should last ~3 years.)
- Auto-Close and Security: If desired, features like Timer-to-Close can be set (via wall control) to automatically close the door after a delay. The manual cautions that passive closing features like Timer-to-Close or app-based closing should only be used on sectional doors (not one-piece doors). This is for safety so that someone is always in view when the door closes.
- Helper Connections: The guide also explains connections for optional accessories (like video monitoring or HomeLink car systems), and how to clear the opener’s memory of remotes if needed.
All controls, LEDs, and error messages are detailed. For instance, the manual mentions that if the opener is running on battery power, it beeps every ~2 seconds and the battery LED glows solid orange; it also specifies that certain functions (lights, myQ, Timer-to-Close) are disabled on battery power to conserve energy. (If an error code appears on the wall console, the manual provides a chart of fault codes to troubleshoot.)
chamberlain garage door opener owner’s manual: Maintenance & Safety
The final sections of the manual cover routine maintenance, safety guidelines, and troubleshooting tips. Key points include:
- Routine Safety Tests: The manual instructs users to test the safety reversal monthly. Place a 1½-inch high object on the floor and close the door – it must reverse upon contact (a mandatory safety check). It also advises daily visual checks to ensure sensors are free of debris and correctly aligned.
- Avoiding Injury: Chamberlain emphasizes never trying to adjust the door’s springs or cables yourself: “NEVER try to loosen, move or adjust garage door springs, cables, pulleys, brackets or their hardware”, as they are under extreme tension. Instead, call a trained technician if the door is out of balance or binding. The manual also reminds installers to remove any door locks and to keep bystanders (especially children) away during testing and operation.
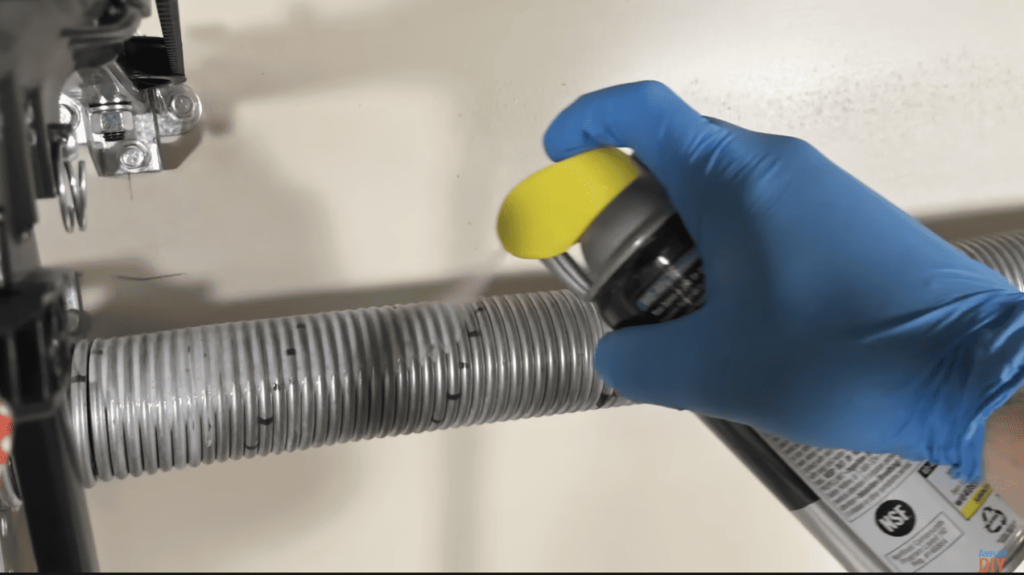
- Lubrication and Hardware Checks: Periodically check that all nuts, bolts, and screws on the opener and door are tight. Lubricate the door’s rollers, hinges, and springs per the manufacturer’s instructions (not detailed in this opener’s manual, but often recommended). The opener’s own chains or belt require no lubrication.
- Battery Backup Maintenance: The built-in battery should be recharged for at least 24 hours after initial use; a full charge lasts 1–2 years. The manual explains the LED indicator: a solid green LED means the battery is fully charged, blinking green means charging, blinking orange (with beeps) means the opener is on battery power, and red indicates a low battery that needs replacement. It specifies using only the designated Chamberlain battery (part #041A6357-1) for replacement.
- Troubleshooting: Common issues and fixes are listed. For example, if the door won’t close and the opener’s light is flashing, the first check is sensor alignment. If a remote stops working, try replacing its CR2032 coin cell and reprogramming it. If the Wi-Fi camera won’t connect, the manual suggests moving the router closer or resetting the camera module via its reset button. An entire trouble-shooting section (with diagrams and tips) is devoted to error codes, obstructions, and other diagnostics.
Chamberlain B6765 Garage Door Opener Owner’s Manual PDF
In summary, the Chamberlain garage door opener owner’s manual for model B6765 is a comprehensive guide. It starts with safety warnings, walks the user through installation (bracket mounting, rail assembly, wiring), and then explains programming, app setup, and operation of the door opener. Detailed sections on maintenance and troubleshooting help ensure long-term, safe operation. By following this manual’s instructions and warnings (for example, never attempting spring adjustments and keeping safety sensors aligned), homeowners can install and use their Chamberlain B6765 opener correctly.