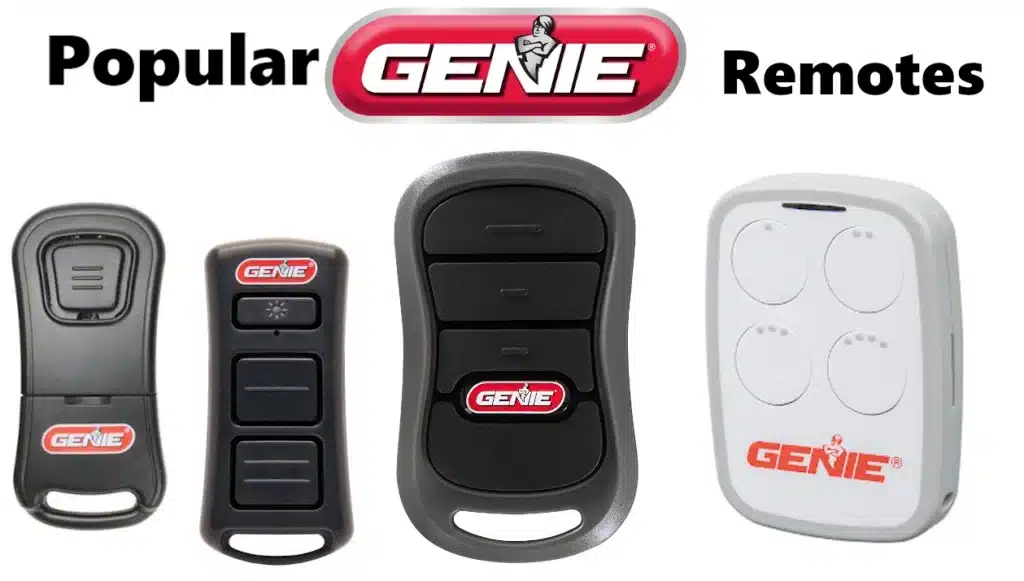
Genie is a well-known brand in garage door opener technology, and their many remote controls show that they have been making improvements and making sure their products work with each other for decades. Genie remotes work safely and reliably, whether you’re upgrading from an older model, programming a new vehicle system, or managing multiple garage doors. They have advanced features like Intellicode® rolling-code encryption, dual-frequency operation (315/390 MHz), and support for all brands.
Genie provides a remote for any household layout, from the simple one-button G1T-BX to the multi-door universal GU4T-BX. This complete tutorial goes over the most popular Genie remotes, including their features, how to program them, what kind of batteries they use, and how to tell if they will work with your garage door opener.
Genie 1-Button Intellicode Remote : G1T-BX
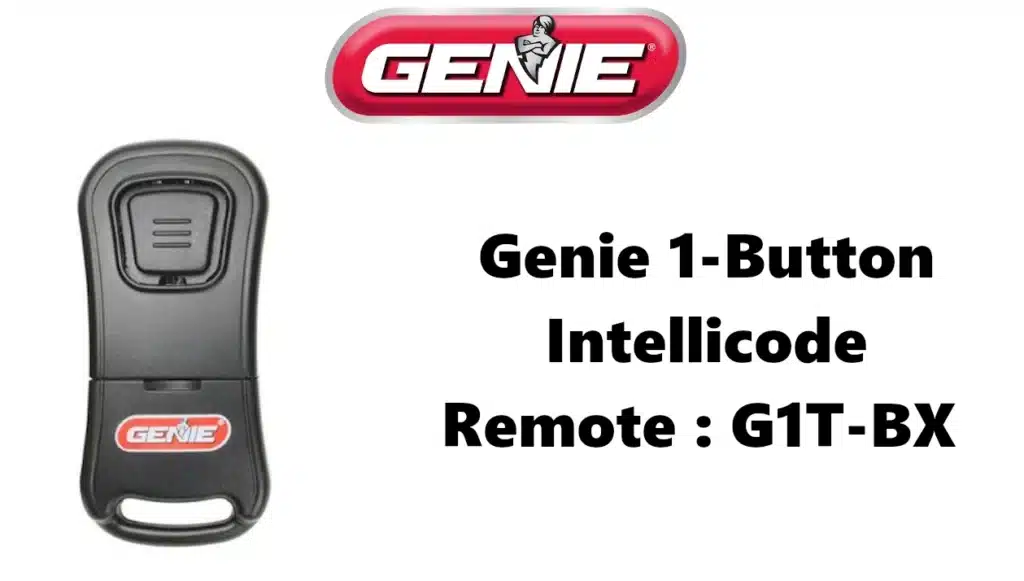
The G1T-BX is a compact one-button Genie remote that uses Intellicode rolling‐code security and Auto-Seek dual-frequency (315/390 MHz) to reduce interference. It replaces the old ACSCTG Type 1 remote and is compatible with virtually all Genie Intellicode openers (1995 to present). It can also be programmed into vehicle HomeLink/Car2U systems. The G1T-BX uses a single CR2032 coin battery.
Features & Compatibility: Controls one opener. Intellicode rolling code (no fixed‐code DIP). Works with Genie Intellicode series (many models like 2024, 38501R, etc.). Dual 315/390 MHz. Includes visor clip; programs to built‐in car remotes. Not compatible with pre-1995 DIP‐switch Genie units (for those, use the Genie Master GM3T remote).
Programming G1T-BX Genie 1 Button Remote (two methods):
- Genie openers with a Learn/PRGM button (1995–2010+): Remove the pull-tab from the G1T to activate the battery. Press and release the opener’s Learn Code (or PRGM/SET) button – the LED on the opener will blink. Then, press the G1T button twice; the opener’s LED will light steady. Press the G1T a third time: the door should move. This sequence programs the remote to the opener.
- Newer openers (2010+ with Program/Set): Remove the tab, press and hold the opener’s Program/Set button until its LED turns blue, then release (the long LED will flash purple). Press the G1T button – the opener’s LED turns steady purple (stops flashing). Press the G1T button again – now the opener’s LEDs flash blue and turn off. Press the G1T a third time; the door moves. (Repeat for each additional opener if needed.)
Troubleshooting G1T-BX Genie 1-Button Intellicode Remote:
- Battery issues: The G1T uses a CR2032 coin cell. If the remote fails, open its front cover (slide off) and replace the battery. The remote retains its programming during battery change.
- Not opening/closing: Ensure you stand a few feet from the opener when programming (too close can fail). If pressing the button doesn’t move the door, press it firmly and slowly or try multiple presses as needed.
- Sync problems or extra doors: If a door no longer responds or a missing remote needs to be deactivated, clear the opener’s memory and reprogram: for newer Genie openers, press and hold the PRGM/SET button until blue, then hold Up+Down together until LEDs blink off. For 1995–2011 Genie openers, press and hold the Learn button until its LED stops flashing. Then reprogram only the remotes you still have.
- Compatibility issues: If your opener uses old code switches (pre-1995), the G1T won’t work – use the 3-button Genie Master (GM3T-R) instead.
Official links: Genie’s programming guide for the G1T-BX, and Genie support FAQ provide step-by-step instructions and battery replacement.
Genie 2-Button LED Flashlight Remote : GL2T
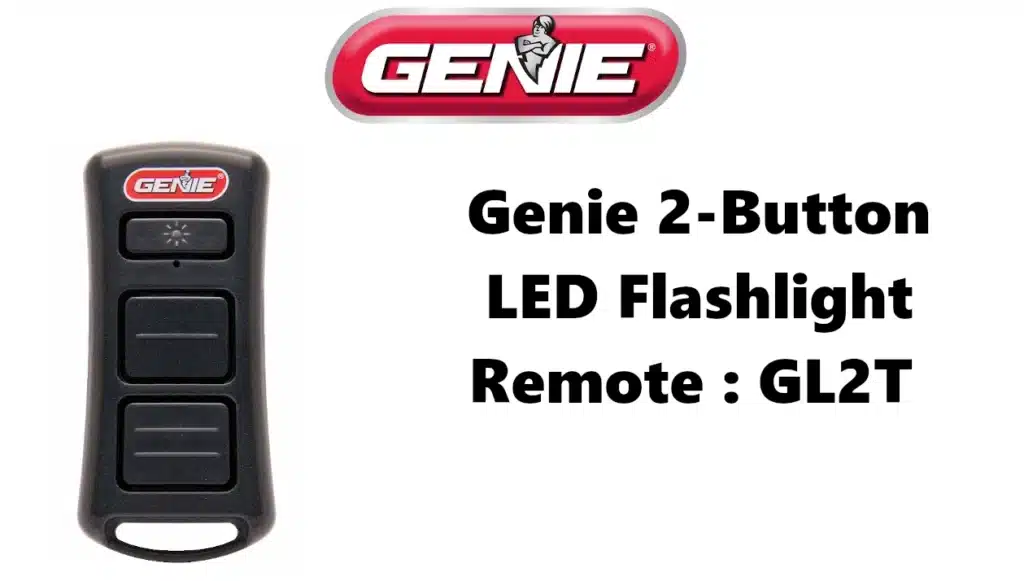
The GL2T is a two-channel Genie remote (one button per door) with a built-in LED flashlight and lanyard. It works with Intellicode Genie openers (1995+). It uses Auto-Seek dual-frequency (315/390 MHz) and includes a visor clip for convenience. The GL2T takes a single AAA battery.
Features & Compatibility: Controls up to 2 separate garage doors (or other receivers). Genie Intellicode (rolling code) transmitter. Includes LED work light and keychain loop. Compatible with Genie Intellicode openers from 1995 to present (also many other brands via “universal” mode). Not for pre-1995 fixed-code units (again, use GM3T-R for those).
Programming Genie 2-Button LED Flashlight Remote:
The GL2T programs much like the G3T:
- Remove the battery tab to activate the remote.
- Opener in programming mode: Press the opener’s Program/Set (PRGM) or Learn button (as above) to enter programming mode (LED flashes).
- Program remote: Press and release your chosen GL2T button twice; the opener’s LED will flash and go out, indicating the code is learned. Press the same remote button a third time: the door opens. (If the LED doesn’t go off, press the button a few more times until it registers.)
(Details: For new Genie heads, hold PRGM until round LED is blue, then the long LED blinks purple. For 1995–2011, press and release Learn code once (red LED blinks), then proceed.)
Troubleshooting Genie 2-Button LED Flashlight Remote:
- Battery: Uses one AAA battery. Replace it if the remote is unresponsive. The remote will keep its code memory when swapping batteries.
- No response: Verify the remote is within range and batteries are fresh. If programming fails, move further from the opener or try again slowly.
- LED flashlight: Ensure the flashlight button (if present) is separate and not pressed accidentally during operation.
- Lost/Stolen remote: Clear the opener’s memory as above (PRGM+Up/Down or Learn button reset), then reprogram your remotes.
Official links: Genie’s GL2T support page includes FAQs and a link to the programming instructions (pdf).
Genie 3-Button Intellicode Remote : G3T-R
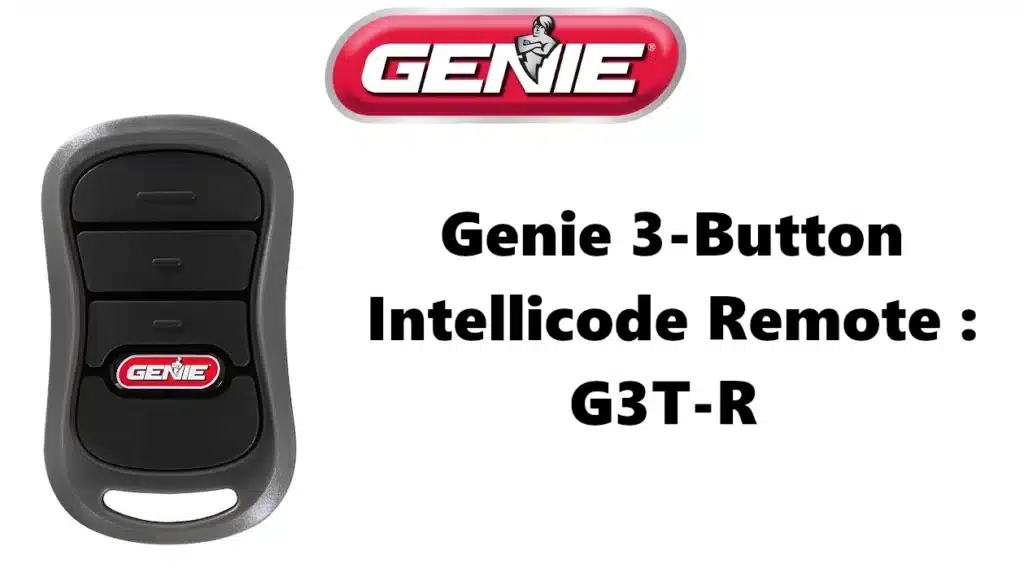
The G3T-R is Genie’s standard 3-button remote (Intellicode, dual-frequency). It can operate up to three garage doors (or openers) independently. It features Intellicode rolling code security and Auto-Seek 315/390 MHz. Its top two buttons can also work with older Genie openers (1995–1997) that use an earlier Intellicode scheme. The G3T-BX comes with a keychain/visor clip and uses one CR2032 battery.
Features & Compatibility: Controls up to 3 Genie openers. Intellicode, dual-frequency. Compatible with virtually all Genie Intellicode models (1997–present). The top two buttons additionally support some 1995–1997 Genie Intellicode openers. Programmable to vehicle HomeLink/Car2U. Replaces older 3-button Genie remotes (GIT series).
Programming Genie 3-Button Intellicode Remote (similar to G1T):
- Newer Genie openers (2010+): Remove the remote’s battery tab. Press and hold the opener’s Program/Set button until the round LED glows blue, then release (the long LED will flash purple). Within 30 seconds, press and release your chosen G3T button twice; the opener LEDs will flash off, confirming the code. Press the same button a third time; the door should move.
- Older Genie openers (1995–2011): Remove tab, press and release the Learn Code button on the opener once (red LED flashes). Press and release the G3T button of choice twice; opener LED will stop flashing (on steady), indicating success. Press the button a third time to operate the door.
Repeat for each door (use a different remote button for each opener).
Troubleshooting Genie 3-Button Intellicode Remote:
- Battery: Replace the CR2032 coin cell if the remote is weak. Open the case with a coin and swap the battery. Programming is retained through battery changes.
- Programming fails: Stand about 5–10 feet from the opener while programming (not too close). If the opener’s LED does not react, re-enter programming mode and try the sequence again.
- Lost remote: Clear the opener memory (as above) and reprogram. Genie remote codes are retained in the opener, so a missing remote can be disabled by this reset.
- Multiple openers on one remote button: This is normal if you programmed two openers to the same button. To unlink, clear one opener’s memory and reprogram it.
Official links: Genie’s G3T programming guide (including step-by-step, plus HomeLink) and battery instructions.
GM3T-R (3-Button “Genie Master” Remote)
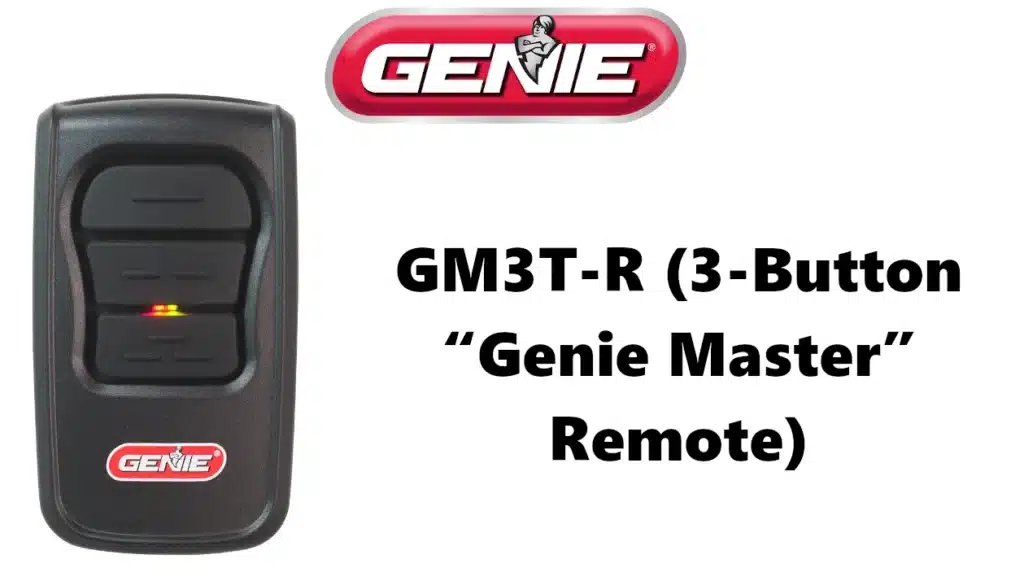
The Genie Master Remote (GM3T-R) is a versatile 3-button remote that supports both modern and legacy Genie openers. By default it operates in Intellicode® 1 mode (red LED) for rolling‐code Genie openers. It can be switched into Intellicode® 2 mode (green LED) for new openers. Uniquely, it also supports fixed‐code DIP-switch openers: you match the remote’s DIP switches and assign a button in “Non-Rolling Code” mode. The GM3T-R uses a CR2032 battery and includes all mounting clips.
Features & Compatibility: Three channels. Intellicode (Genie Intellicode 1 and 2) and legacy fixed-code (9/12-switch) support. Works with nearly any Genie residential opener (both Intellicode and older series with code switches). The remote’s red LED indicates Intellicode‑1 mode (factory default), green LED indicates Intellicode‑2 mode, and a yellow LED indicates entry into non‐rolling code (DIP) mode.
Programming 3-Button “Genie Master” Remote:
- Intellicode 1 Openers: Use it like any Genie Intellicode remote. Press and release the opener’s Learn button (red LED blinks rapidly), then press and release a GM3T button: the opener LED will stay on. Press that same button again: the opener LED turns off. Press it a third time: the opener operates. Repeat per button for additional openers.
- Switching to Intellicode 2: Hold a GM3T button for ~10 seconds until its red LED stays on then turns green. Release and tap that button twice to save. Now the green LED will light when using that button (Intellicode 2 mode). Next program that button via the opener’s Program/Set button (blue LED) exactly as above.
- Fixed-code (DIP) Openers: Remove the back cover of the remote and set its internal DIP switches to match the opener’s switch bank. Inside the cover, press the “Non-Rolling Code” button corresponding to your switch bank (A/B/C/D) to enter code mode (yellow LED blinks). Then press the GM3T button to assign it – the green LED will flash. Press the button again to operate the opener.
Troubleshooting 3-Button “Genie Master” Remote:
- Mode LED: The remote’s LED color tells you the mode. If your opener doesn’t respond, check that you’re in the correct mode (red for standard Intellicode1, green for Intellicode2, or DIP mode). To reset a button back to Intellicode1, remove the cover and press the “Default” button – the yellow LED will flash; then press the remote button you wish to reset.
- Battery: Uses a CR2032. Replace it if the remote is unresponsive.
- No response: For fixed-code openers, ensure the DIP switches were set and programmed correctly. For all types, try clearing the opener’s memory and reprogramming.
- Multiple devices: The GM3T can control three openers; make sure you know which button is paired to which opener. If accidental pairing occurred, clear memory on the opener and re-assign the correct button.
Official links: Genie’s GM3T™ programming manual (covering all modes).
ACSCTG-UNIV2 ( Genie 2-Button Universal Remote)
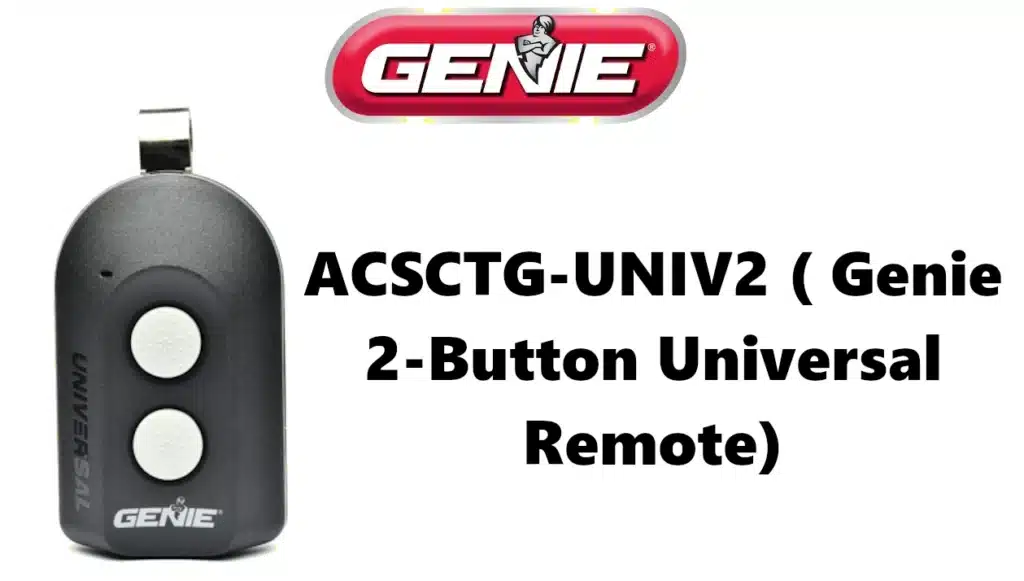
The ACSCTG 2-Button Universal Remote is a multi-brand, rolling‐code remote (Genie part 41713R) that can replace most major garage openers’ remotes. It has two independent buttons (up to 2 doors) and works on the same Intellicode 315/390 MHz band. Genie markets it as compatible with Genie®, Overhead Door®, Chamberlain/LiftMaster®, Craftsman®, Wayne Dalton®, Sommer® and many others. Each button is programmed separately, so one remote can operate two different brands. It comes with a visor clip and a CR2032 battery. It also replaces Genie’s old ACSCTG Type 1/2/3 Intellicode transmitters.
Features & Compatibility: Two buttons (2 doors). Works with most rolling-code systems from Genie and competitors (see Genie’s full compatibility chart). Not for legacy fixed-code openers (except via a special teach mode). Includes visor clip and pre-installed CR2032. Advertised as universal replacement for many brands.
Programming Genie 2-Button Universal Remote:
The ACSCTG-UNIV2 uses Genie’s “Learn” style setup for intellicode systems. In short:
- Prepare opener: Open the opener’s Learn/Program mode (press its Learn or PRGM button). Its LED will flash.
- Activate remote: Pull the tab to enable the remote’s battery. On the remote, press and hold both buttons until its red LED begins flashing. Release.
- Set code: Press the chosen remote button N times (as specified for your brand in Genie’s compatibility chart – generally 4 times for Genie Intellicode). Wait: the remote’s green LED will blink and go out.
- Pair to opener: Press the opener’s Learn/Program button again (LED will come on), then press the same remote button once. The opener should click or move. (Some models may require pressing the opener’s Learn twice and the remote twice.)
- Test: The door should now respond to that button. Repeat for the second button if needed.
(Genie provides a detailed chart and instructions for many brands. See Genie’s manual for specifics.)
Troubleshooting Genie 2-Button Universal Remote:
- Battery: CR2032. To change it, remove the single Phillips screw and open the case. Programming is retained during a battery swap.
- Programming errors: Ensure you followed the number of button presses exactly. If the opener did not activate, clear everything and try again.
- Clear all codes: To erase the remote’s memory (factory reset), hold down both buttons until the green LED blinks and goes off (about 10 sec). Then reprogram.
- Visor clip: Install or move the clip to any of the slots on the back for mounting.
- Opener not responding: Verify you selected the correct brand/ID in Genie’s chart. If needed, follow Genie’s “Yellow Learn Button” procedure for Chamberlain/LiftMaster models (detailed in Genie’s full instructions).
Official links: Genie’s ACSCTG universal remote instructions (with compatibility chart).
GU4T-BX ( Genie 4-Button Universal Remote)
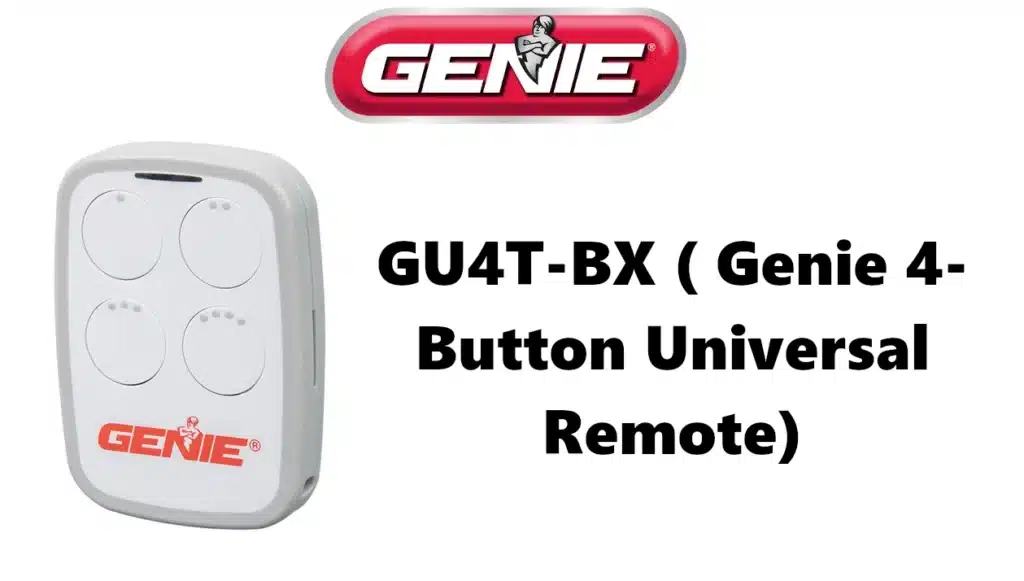
The GU4T-BX is Genie’s 4-channel Universal Remote for garage doors and gates. It can control up to four devices (one per button). It comes with both a visor clip and keychain attachment and uses a CR2032 battery. The GU4T is pre-programmed with common codes and can be “learned” to most major brands (Genie/Overhead, Chamberlain/LiftMaster/Craftsman, Linear, Wayne Dalton, etc.). It supports both rolling-code and fixed-code systems (it implements “virtual DIP switches” if needed).
Features & Compatibility: Four buttons (up to 4 doors). CR2032 battery. Controls Genie and many other brands’ openers and gate receivers. Includes visor clip & keychain. Supports fixed-code devices via a teach/clone function (“Teach & Pair” or “virtual dip”).
Programming universal remote for genie garage door opener:
Basic procedure is like any Genie remote: put your opener into learn mode, then press and hold the GU4T button you want to program until the opener captures it (LED confirmation). For fixed-code or learning from an existing remote, use the GU4T’s “Teach & Pair” feature:
- Remove the battery pull-tab.
- Press and hold the button #3 while pressing button #4 four times. The GU4T’s blue LED will blink once (long) and then go out – this clears any existing codes.
- To learn a new code (rolling or fixed), consult Genie’s guide. For fixed-code openers, GU4T can accept the original remote’s code (refer to Genie’s “Teach & Pair” steps in their manual). For rolling-code, put opener in learn mode and press the GU4T button.
(Full programming instructions vary by opener brand and are detailed in Genie’s support pages. Always follow safety guidelines and clear area when testing.)
Troubleshooting universal remote for genie garage door opener:
- Battery: Replace the CR2032 if unresponsive. The GU4T retains learned codes on battery swap.
- LED feedback: The remote’s LED will flash during programming or teach mode; allow it to stop blinking before further button presses.
- Clearing memory: As above, hold button #3 + press #4 four times (blue blink) to erase all codes. Then reprogram from scratch.
- Compatibility notes: The GU4T is updated periodically; check Genie’s website for a compatibility chart if a particular opener isn’t responding.
Official links: Genie’s 4-Button Universal Remote FAQ and programming guide provide detailed instructions and compatibility lists.
Comparison of Major Genie Remotes
| Model | Buttons | Code Type | Frequency | Battery | Can Control … | Notes |
|---|---|---|---|---|---|---|
| G1T-BX | 1 | Intellicode (rolling) | Auto-Seek 315/390 MHz | CR2032 coin cell | 1 Genie opener (Genie Intellicode series) | Newer Genie remotes (1995+). Replaces older ACSCTG1. Not for pre-1995 DIP units. |
| GL2T | 2 | Intellicode (rolling) | 315/390 MHz | AAA (x1) | Up to 2 Genie openers (1995+) | Includes built-in LED flashlight and visor clip. |
| G3T-R | 3 | Intellicode | 315/390 MHz | CR2032 coin cell | Up to 3 Genie openers (1997+; top 2 buttons also 1995–97) | Standard Genie 3-button remote. Replace old GIT models. |
| GM3T-R | 3 | Intellicode + Fixed (dip) | 315/390 MHz? | CR2032 coin cell | Genie openers (Intellicode and old code-switch models) | “Genie Master” remote. Supports DIP-switch openers and dual Intellicode modes. |
| ACSCTG | 2 | Rolling-code (universal) | 315/390 MHz | CR2032 coin cell | 2 openers (Genie or many brands) | Universal remote for many brands; each button separately programmable. Replaces Genie ACSCTG type 1/2/3. |
| GU4T-BX | 4 | Rolling + Fixed (“universal”) | Likely 315/390 MHz | CR2032 coin cell | Up to 4 openers (multi-brand) | Universal remote (Genie/Overhead). Pre-set codes, supports virtual DIP; includes visor clip & keychain. |
Sources: Genie official support and product pages (programming guides) and Genie technical documents.