A Genie garage door opener is designed to provide safe, convenient, and reliable access to your garage, but problems can occur when a remote control stops working, loses its programming, or when a keypad no longer responds. Whether you’ve replaced a remote, changed keypad batteries, moved into a new home, or are troubleshooting a Genie garage door remote problem, knowing how to properly reset and program your opener is essential.
How to Reset Genie Garage Door Opener ?
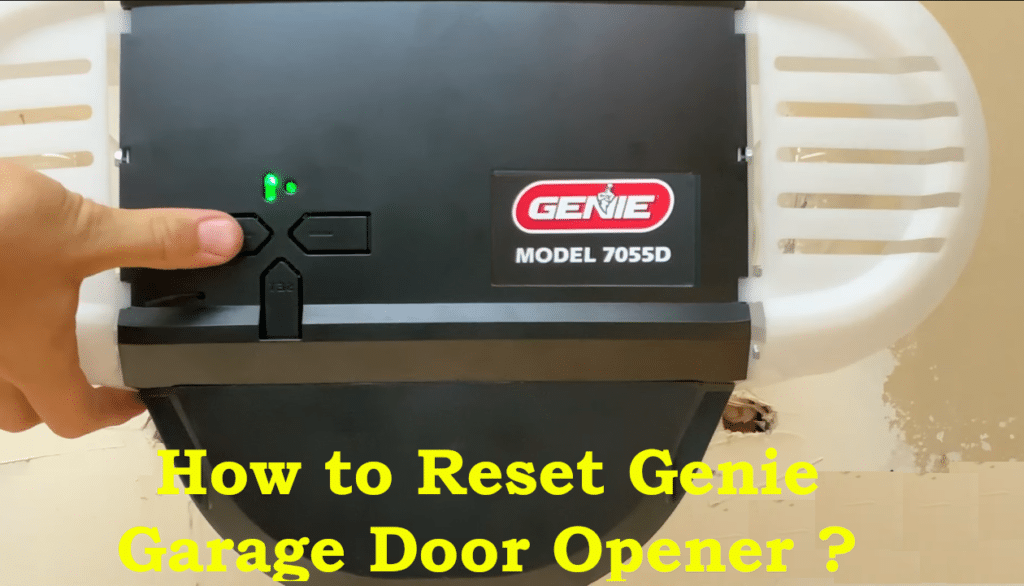
To reset your Genie opener to factory settings (erasing all remote and keypad codes):
- Ensure the Door is Closed: Before resetting, make sure the garage door is fully closed. This prevents any unexpected movement while you work. Also clear the area of people or objects.
- Locate the Learn/Program Button: Find the “Learn” (or “Prog/Set”) button on your opener’s motor unit. It’s usually on the back or under the light cover (often a small square button that might be red, blue, purple, or green). Use a stable ladder if needed to reach it.
- Press and Hold to Reset: Press and hold the Learn button for about 6–10 seconds until the LED indicator light on the opener goes out. You may see an LED that was lit turn off. This action erases all previous codes from the opener’s memory.
- Confirm Reset: After the LED turns off, release the Learn button. All remote controls and wireless keypads that were programmed to the opener are now wiped from memory. Test this by using an old remote (if available) – it should no longer activate the door. Your opener is now reset to its default state.
[VIDEO] Resetting a Genie Intellicode Garage Door Opener:
Note: This reset only clears the opener’s remote/keypad memory. It typically does not erase travel limits or force settings. If you need to reset the door’s travel limits or force, refer to your model’s manual for specific instructions (these procedures vary by model ).
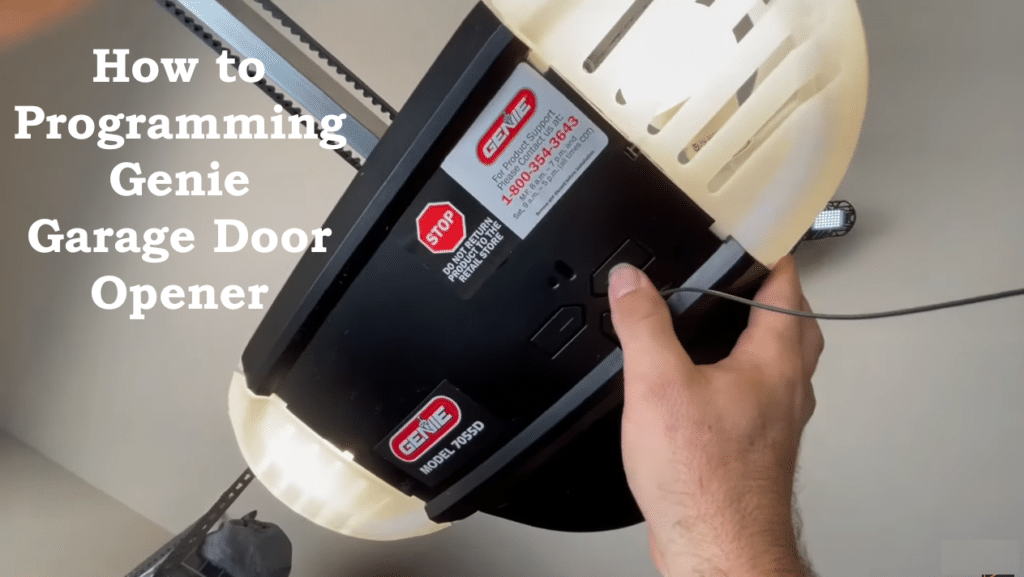
How to Programming Genie Garage Door Opener ?
After a reset (or for a new installation), you’ll need to program the opener to recognize your remote controls and keypads. Genie uses Intellicode (rolling-code security) which means you’ll sync each remote/keypad to the opener’s receiver. Below are instructions for programming remotes and wireless keypads.
Programming Genie Garage Door Opener Remote Controls
Follow these steps to program a Genie remote to your opener:
- Prepare the Remote and Opener: Stand within reach of the opener’s Learn button (on a ladder if necessary) and have the remote in hand. Ensure the remote has a good battery and the area is clear. The garage door should remain closed during programming for safety.
- Activate Learn Mode: Press and release the opener’s Learn/PRGM button. The opener’s indicator LED will light or start blinking, indicating it’s in learning mode. (On Genie models with a PRGM/SET button, press and hold it for ~2 seconds until the small LED turns blue and the long LED starts flashing purple.)
- Send Remote Signal: Within 30 seconds of entering learn mode, press the button on the remote that you want to use for that door. Press and release the remote button slowly twice (on some models, pressing it twice is required). The opener’s lights or LED should flash to confirm it received the remote’s signal. (Example: On many Genie units, the small LED will flash or the garage light will blink when the code is accepted..)
- Confirm Programming: Wait for the opener’s indicator light to turn off or return to solid (this usually happens a few seconds after the successful code exchange). Then press the remote button again to test the door. The garage door should open or close when you press the programmed remote button. This means the remote is successfully programmed.
- Program Additional Remotes: Repeat steps 2–4 for any additional remotes. Remember that each remote button you program will need to go through the learn mode sequence. Most Genie openers can store several remote controls in memory.
[VIDEO] Programming a Genie Remote:
Tip: If the opener’s LED blinks red or times out before the remote is programmed, it means the programming mode timed out. Simply start again (press the Learn button and then the remote) and be sure to press the remote within the 30-second window. Also, stand at least a few feet away when pressing the remote (Genie recommends ~5 feet) to avoid interference during programming.
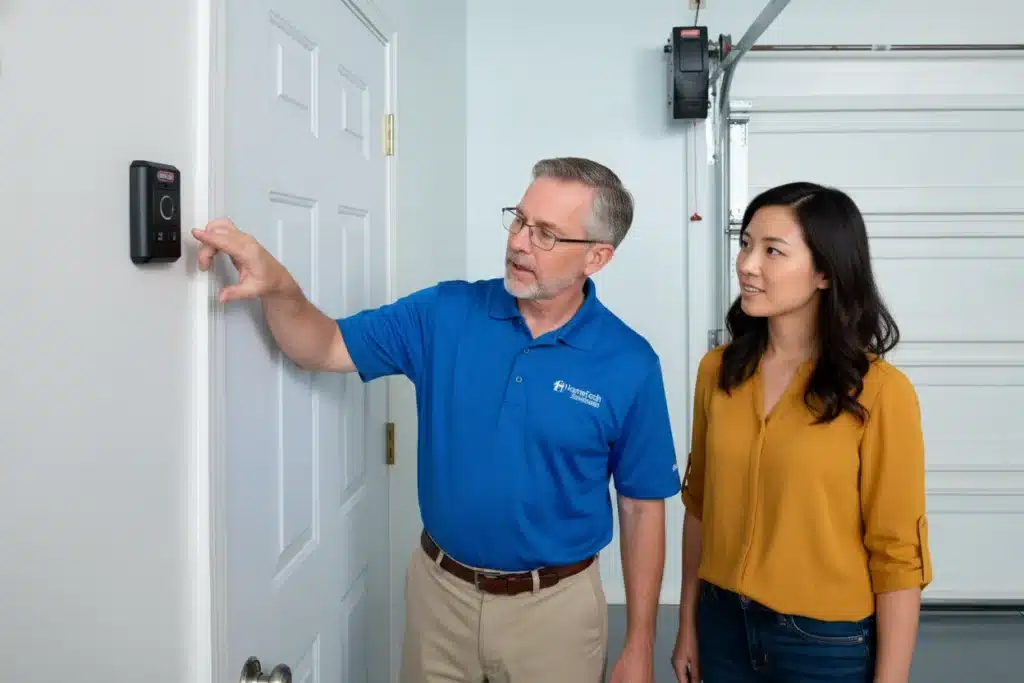
Programming Genie Garage Door Opener( Wireless Keypad)
Genie wireless keypads allow entry by PIN. The programming involves setting your PIN on the keypad and then syncing the keypad to the opener. The exact steps can vary by keypad model, but for most Genie Intellicode keypads:
- Clear/Prepare the Keypad: If the keypad is new or you want to reset it, open the keypad cover and press the numbers 3-5-7 in sequence, then press the Up/Down (arrow) button. Next, press and hold the keypad’s Program/Set button until the keypad’s LED flashes (typically red). This clears any old PIN and puts the keypad in programming mode.
- Set a New PIN: Release the Program button. Now enter 3-5-7 again, and press the Program button on the keypad. Then enter your desired PIN (it can be 3 to 8 digits long), and press Program once more. The keypad LED should flash or blink, indicating the PIN is stored. Remember your PIN, as you’ll use it to open the door.
- Put Opener in Learn Mode: Go to the garage door opener unit. Press and hold the opener’s Learn/PRGM/Set button until its indicator LED turns on or starts blinking (on newer Genie models, the round LED may turn blue then turn off, and a long LED will flash purple). This means the opener is ready to receive a keypad code.
- Sync the Keypad to Opener: Within 30 seconds of activating the opener’s learn mode, go to the keypad. Enter the PIN you set, then press the Up/Down arrow button on the keypad. Wait 2-3 seconds, then press the Up/Down button again. The opener’s lights should flash and the LED should go off, indicating the keypad code was accepted.
- Test the Keypad: Finally, press the Up/Down button a third time. The door should open or close, confirming that the programming was successful. Close the door again and test the keypad by entering your PIN and pressing Up/Down – the door should respond to the keypad command.
[VIDEO] How to Program a Genie Remote or Keypad:
If you have additional doors or a multi-door keypad, refer to the keypad’s manual for the specific method to program each door (the procedure can differ when linking one keypad to multiple openers). For a single-door setup, the above steps will program the keypad to your Genie opener.
Tip: Keypad programming mode also times out, so perform each step steadily without long delays. If the opener didn’t respond, you may need to start over. Also ensure the keypad’s batteries are fresh – a weak keypad battery can cause the wireless signal to fail. Most Genie keypads use standard alkaline batteries (e.g. AA or AAA); replace them yearly for reliability.
Programming a Genie Wall Console (Wall Button)
Programming a Genie wall console is usually quick and safe if done correctly. Follow these general steps (they work for most Genie models):
Steps to Program the Genie Wall Console
- Close the garage door completely before starting.
- Locate the “Learn” or “Program” button on the Genie opener motor (usually under the light cover or on the back panel).
- Press and release the Learn/Program button.
The LED light will turn solid or start blinking, indicating programming mode. - Within 30 seconds, press and hold the wall console button you want to program.
- Release the button when the opener light flashes or you hear a click.
- Test the wall console by pressing the button to open or close the door
Safety Tips When Resetting or Programming a Garage Door Opener
Always put safety first when working on a garage door opener. Garage doors are heavy, and the opener is a powerful machine.
- Work with the door closed to prevent unexpected movement and reduce injury risk.
- Keep the door path clear of people, pets, and objects. Never stand under a moving door.
- Use a stable ladder on a level surface when reaching the opener. Having someone assist you is recommended.
- Avoid pinch points such as gears, chains, belts, springs, and cables. Unplug the opener before touching moving parts.
- Disconnect power for mechanical work and use the emergency release only when the door is closed or securely supported.
- Never disable safety sensors. Safe-T-Beam sensors prevent serious accidents and must remain functional.
- Follow the owner’s manual for your specific Genie model, as procedures and warnings may vary.
Do not repair springs or high-tension parts yourself. Call a professional technician for these repairs. - Wear eye protection and keep remotes out of children’s reach. After programming, test the safety-reverse feature to confirm proper operation.
Properly resetting and programming your Genie garage door opener helps prevent many common issues, including remotes that stop working or keypads that fail to respond. In many cases,these Genie garage door remote or keypad problems are linked to erased codes, weak batteries, or missed programming steps rather than a faulty opener. By carefully following the reset and programming instructions, you can restore normal operation and improve security.