Always cut power to the opener before inspecting it. Unplug the Craftsman opener and pull the red emergency-release rope to disconnect the door trolley. Lower the door (support it with clamps or blocks) and remove the opener from its ceiling bracket so you can work on it at a comfortable height. Wear safety glasses and gloves. Tools: ladder, socket/wrench set (for motor mount and arms), screwdrivers (for light covers and screws), pliers or channel-locks (for spring nuts), marker (to mark chain links), tape (to secure chains), a rag, and garage-door lubricant (white lithium grease). You may also need replacement parts: opener gear-and-sprocket kit, drive belt (for belt-drive models), or chain/cable assembly (for chain-drive).
Before servicing, always disconnect power. Unplug the opener and release the trolley (via the red pull cord) so the door can’t move unexpectedly.
Common Causes of Noise: Grinding or clicking from a garage opener almost always means wear or misadjustment in the drive mechanism. Common culprits are worn/stripped drive gears, worn sprocket (chain) or belt, and loose or rusty chain/belt tension. For chain drives, a sagging or rusty chain can click or rattle; for belt drives, a stretched or frayed belt can squeal or slip. Inside the motor head, the nylon worm gear and drive gear transmit power – if those plastic gears strip out, the motor will spin (often making a grinding noise) but the chain/belt won’t move the door. Loose mounting bolts or brackets can also allow vibration and rattling. In screw-drive models, a dry or rusty screw rod can screech if unlubricated, and the trolley carriage (which has teeth that grip the screw) will slip or chatter when worn.
Tools, Parts & Precautions
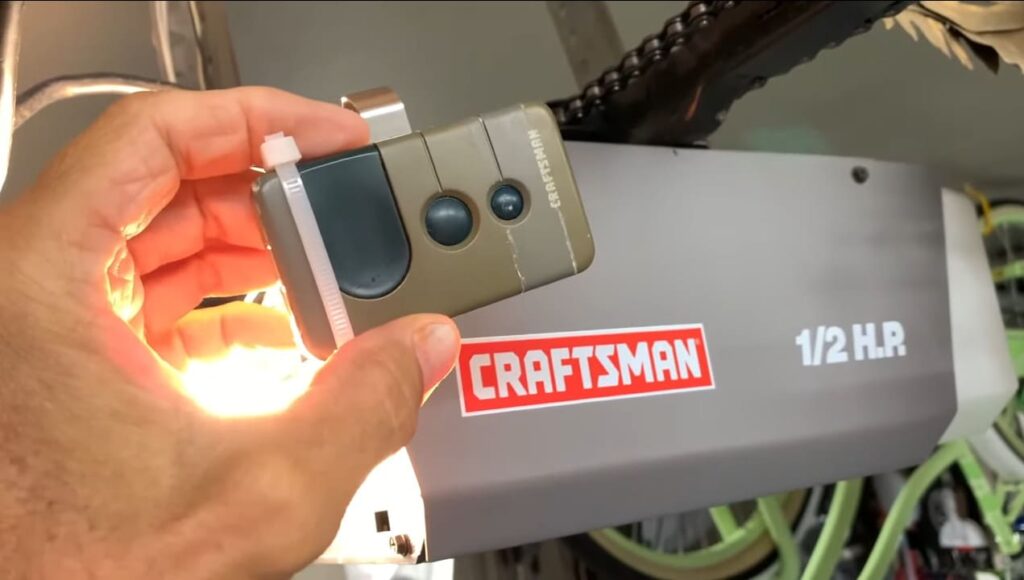
- Power Off: Unplug the opener (shown above) before touching anything. Tag cords or cover wires to avoid accidental re-plugging.
- Release the Door: Pull the emergency-release rope to disengage the trolley from the door. Clamp the door or have a helper hold it so it cannot fall.
- Support the Unit: Remove the opener from the ceiling (unbolt it from its bracket) and set it on a sturdy table or ladder platform. Have someone assist with the heavy unit.
- Tools: You’ll need screwdrivers (for cover panels and light bulbs), a socket set or wrenches (to unbolt the opener and door arm), pliers or adjustable wrenches (for spring-loaded nuts on belt drives), a marker or tape (to mark the chain link alignment), a soft brush or rag, and garage door lubricant (white lithium grease). Replacement Parts: A gear kit (plastic drive gear(s) and worm gear), a gear-and-sprocket assembly, a new chain/cable (if the old one is rusted or stretched), or a new belt (if your belt is frayed). For screw drives, a screw-drive carriage (trolley) may be needed.
- Safety Note: Do not attempt to adjust or replace torsion springs yourself – call a pro if springs are broken or the door won’t balance. This guide focuses on the opener unit and drive components only.
Common Noise Sources & Symptoms
- Loose Hardware: Check all bolts and brackets on the opener and tracks. A loose opener mounting bolt can cause vibration that sounds like clicking or rattling. Tighten any loose hardware.
- Chain/Belt Tension: A slack chain will slap against the rail or skip teeth, producing clicking or rattling. Similarly, a loose or aging belt may slip. Craftsman advises the drive chain should have only about ¼-inch of sag. Measure at the midpoint of the rail – if slack exceeds about ½-inch or the chain doesn’t feel snug, adjust the tension. For chain drives, tighten using the nuts on the trolley shaft until the chain hangs ~1/4″ above the rail. For belt drives, use the tensioner screw on the rail to remove slack. Note: don’t overtighten – the chain/belt should move smoothly without binding. (If the belt is cracked or the chain is very rusty, plan to replace it.).
- Lack of Lubrication: Dry components create noise. Chain drives need a light coat of garage-door lubricant; screw drives require grease on the threaded rod. Genie recommends squirting white lithium grease on the screw rod about every 12–18 months. Do not use WD-40. After applying grease, run the opener a few cycles to distribute it along the screw. Belt drives use less grease, but you can apply a little where the belt contacts the motor pulley or trolley. Also lubricate the opener’s pinion gear and any metal pulleys or bearings. Often squeaking noises disappear with proper lubrication.
With the opener on the floor, disconnect the door arm by removing its fastener ring and pin. This photo shows pulling the red emergency cord (arrow) to free the trolley. Always secure the door before removing the opener.
- Worn Drive Gears or Sprockets: Inside the motor housing are plastic gears (the worm on the motor and a large nylon drive gear) that mesh with the chain or belt sprocket. These are designed to strip out under overload to protect the motor, but when stripped they will grind and click. If the motor spins with power but the chain/belt barely moves (or you hear grinding), inspect these gears. Remove the opener cover (unplug the unit, pull light bulbs, remove housing screws) and examine the white plastic gears and adjoining metal sprocket. Look for broken or missing teeth on the gears or sprocket, and wear on the worm gear. A telltale symptom: grinding inside the case or a fluttering click as each stripped tooth passes.
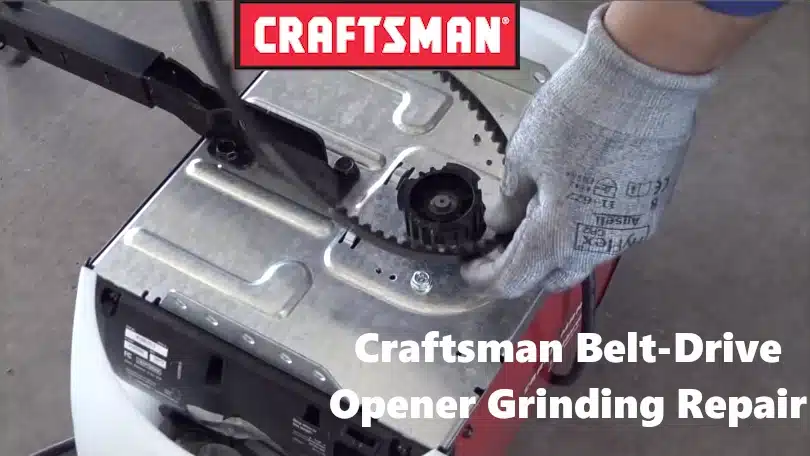
The plastic drive gear inside a Craftsman opener can wear down. If the teeth are chipped or missing (as in this exposed gear assembly), replace the gear-and-sprocket assembly.
- Worn Chain Sprocket (Chain-Drive): On chain-drive models, the motor’s sprocket (a metal wheel that engages the chain) can wear or rust. If the chain skips under load, it will click against loose teeth. Inspect the sprocket teeth for wear. Often the gear-and-sprocket assembly is replaced as one unit. When replacing the gear kit, also check that the chain matches the sprocket pattern (mark the chain before disassembly so you can reinstall it in the same position).
- Worn Belt (Belt-Drive): On belt units, the rubber belt can stretch or fray. A frayed belt may slip on the pulley and make a chirping or clicking noise. Inspect the belt for cracks or missing teeth. If the belt shows damage or cannot be tensioned properly, it should be replaced. (See below for belt replacement steps.)
- Trolley/Carriage (Screw-Drive): In screw-drive openers, the trolley (also called the carriage) has internal teeth that mesh with the screw. If those teeth are worn, the motor will turn the screw but the trolley will “slip” – often causing a chattering or grinding noise while the door fails to move. The Genie manufacturer notes: “If the motor is running and the screw drive is turning, but the door is not operating (you may even hear a grinding or chattering noise), then it is time to replace the screw drive carriage.”. Signs of this include the opener motor running with no door movement or stuttering sounds.
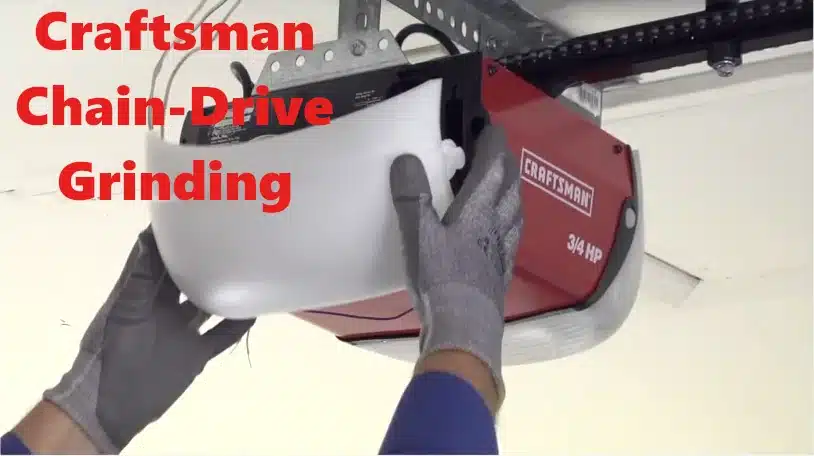
Craftsman Chain-Drive Opener Grinding Repair Steps
- Check Chain & Tension: With power off, manually lift the door a few inches. The chain should have about ¼″ of slack at the rail’s midpoint. If it sags more than ~½″, tighten it. To adjust, loosen the locknut on the trolley shaft and turn the adjustment nut to raise or lower the chain until the slack is correct. Then re-tighten the locknut. (A helper can push the trolley toward the adjusted nut to keep tension during this step.)
- Lubricate: Lightly spray chain lubricant along the chain and around the sprocket. If the opener has a rail (I-beam), wipe any excess oil off the rail to prevent drips. Also put a dab of lithium grease on the motor’s worm gear (you’ll see it once open) and around the large drive gear shaft.
- Inspect Drive Gear: If noise persists, remove the motor head as described below. Gear Inspection: Pull the light cover and remove both bulbs. Take photos of any wiring connections (for reassembly). Unbolt the opener from the ceiling bracket and slide the opener and rail off the header bracket. Place the unit on a table. Disconnect the chain from the trolley by removing the outer nut and sliding out the threaded shaft. Mark the chain link and sprocket tooth with a marker for reassembly. Now flip the motor unit over, remove the cover screws, and lift off the housing. Remove the plastic helical (worm) gear retainer and pull off the worm gear.
- Replace Worn Gears: Inspect the white drive gear (attached to the large sprocket) and the smaller worm gear on the motor shaft. If teeth are chipped or the gear is rough, replace them. Buy a Craftsman gear-and-sprocket kit for your model. To install, grease the new drive gear lightly and slide it into place, securing with its screws. Grease the new helical gear and reinstall it with its clip. Replace any bearings or spacers that came with the kit.
- Reassemble Chain: Reinstall the cover and chain spreader. Thread the chain back onto the sprocket (lining up the marked link and tooth). Reconnect the trolley shaft and nuts (hand-tighten outer nut first). Adjust the chain tension again so there’s ~¼″ of slack, then tighten the locknut fully.
- Test and Finalize: Reattach the opener and rail to the header bracket. Reconnect wall wires and sensor wires using your photos. Reattach the door arm and safety clip to the trolley. Plug in power and run the opener through a full cycle. Check for smooth operation and re-adjust chain or limits if needed.
If the above steps don’t eliminate grinding, the drive worm gear (motor shaft gear) may also be worn. In that case you’d remove the motor from the housing (unplug RPM sensor, unbolt motor, slide it out) and press out the roll pin to change the worm gear – essentially a more advanced repair. Many DIYers opt instead to replace the entire gear kit or even the opener if both gears and shaft bearing fail.
Craftsman Belt-Drive Opener Grinding Repair
- Inspect Belt & Pulleys: First, check belt condition. If it looks worn, cracked, or the teeth are damaged, replace the belt. Also inspect the idler pulley (at the rail’s end) – its bearings should spin freely without noise.
- Replace Belt (if needed): Disconnect power and release the trolley (as above). Remove the opener from the ceiling and lay it down. Slide the trolley to one end and compress the spring tensioner (use pliers on the spring nut) to slacken the belt. Unhook the trolley connector and relieve all tension. Remove the small bolt holding the idler pulley and take out the pulley wheel. Then unthread the old belt from around the motor pulley and off the trolley, and pull it out of the rail. Install the new belt by reversing this process: feed the new belt through the rail and around the motor pulley, connect the trolley end using the master link, and reattach the idler pulley bolt. Secure the trolley threaded shaft back into the belt with the spring nut (compressing the spring fully). Tighten the spring nut until the belt has the proper tension (usually flush with the end of the shaft). Reinstall the belt cover.
- Check Internal Gears: Belt-drive units also have a nylon gear set inside (motor worm and belt sprocket). If you still hear grinding after a belt replacement, follow the same “Inspect Drive Gear” steps from the chain-drive section above to open the housing. Replace any stripped gears just as described. The procedure is almost identical, but instead of a chain you have a belt wrapped around the large gear.
- Lubrication: Unlike chain openers, avoid heavy lubrication on the rubber belt itself (it can attract dust). Instead, lightly grease the pulley bearings and the opener’s motor worm gear.
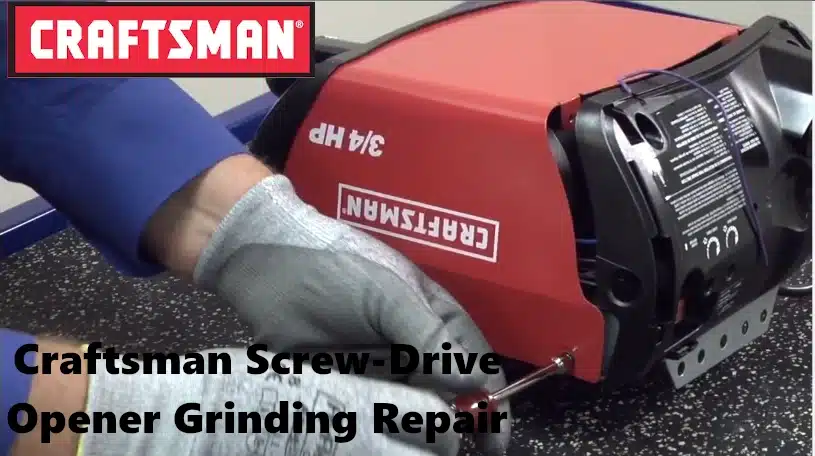
Craftsman Screw-Drive Opener Grinding Repair
- Lubricate the Screw: No chain or belt here – the trolley slides along a long threaded rod. These screw drives must be greased regularly. Apply white lithium grease in dollops along the screw (about every 2–3 feet) and run the door up/down a few times so it spreads. This often quiets squeaking or rough movement.
- Check the Carriage: If greasing doesn’t fix it and the door still doesn’t move smoothly, inspect the screw-drive carriage. If the opener’s motor runs but the door fails to budge (or moves jerkily), the trolley’s internal teeth may be worn. To inspect, unplug power, remove the opener from its rail (usually unscrew the curved arm and lift the chassis), then slide off the trolley assembly. Examine the plastic tooth strip on the carriage – if it’s smooth or missing teeth, replace the carriage assembly. Genie (Craftsman’s manufacturer) sells a Screw Drive Carriage Kit (e.g. part 36179R.S) that includes springs and a magnet. Install the new carriage as per the product instructions (it typically just slides on the screw and clips into the opener head).
- Other Checks: Ensure the entire screw rail is straight and unobstructed. Wipe off old grease and remove debris before re-greasing. Check the end stops and limit switches (if your model uses them) – if the opener thinks the door is already at an end, it may stop or click. Finally, after any repair, reset the travel limits so the door moves the full range of motion.
Preventive Maintenance
Regular maintenance prevents most noises. As RJ Garage Door Service points out, a well-lubricated, properly adjusted opener should run quietly, especially with a belt drive. Every 6–12 months: tighten hardware, lubricate moving parts (chain, screw, gears, rollers) with appropriate grease, and inspect belts/chains for wear. Check sensors and door hardware too (loose rollers or bent tracks can give noise mistaken for opener issues). Catching worn chains or gears early (they often first cause a subtle clicking or grinding) can save you from a breakdown. If after all DIY fixes the opener still groans or grinds, it may be time to call a professional – a repair tech can diagnose complex issues like motor or logic-board problems.
By following these steps and checking the common wear points, you can diagnose and fix most grinding or clicking noises on Craftsman chain, belt, and screw-drive openers. Proper tools, safety precautions, and systematic inspection (marking parts and reassembling carefully) will get your opener running smoothly and quietly again