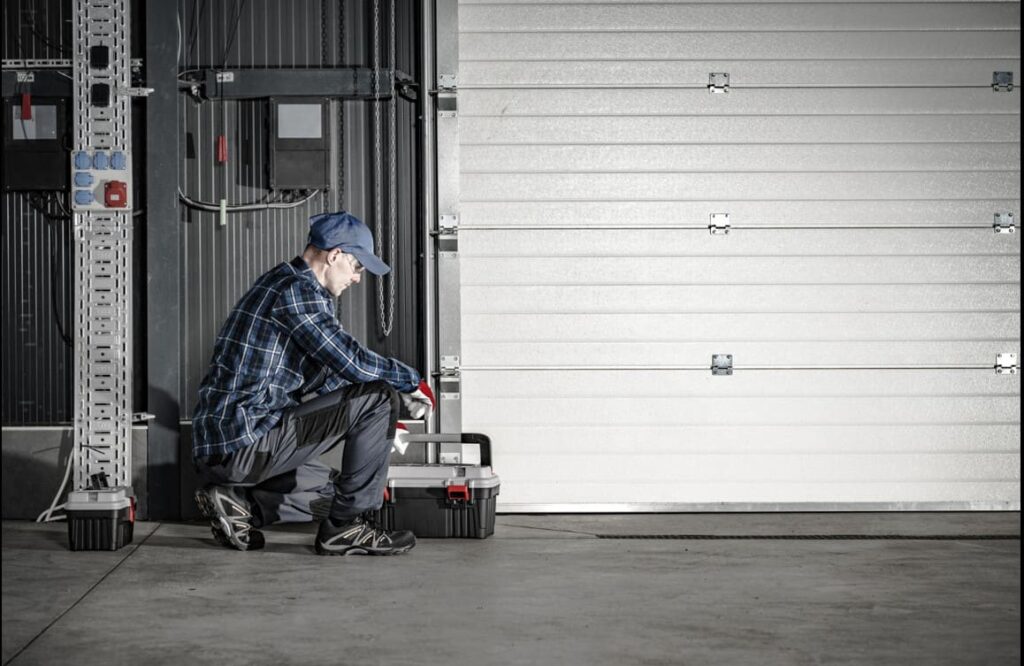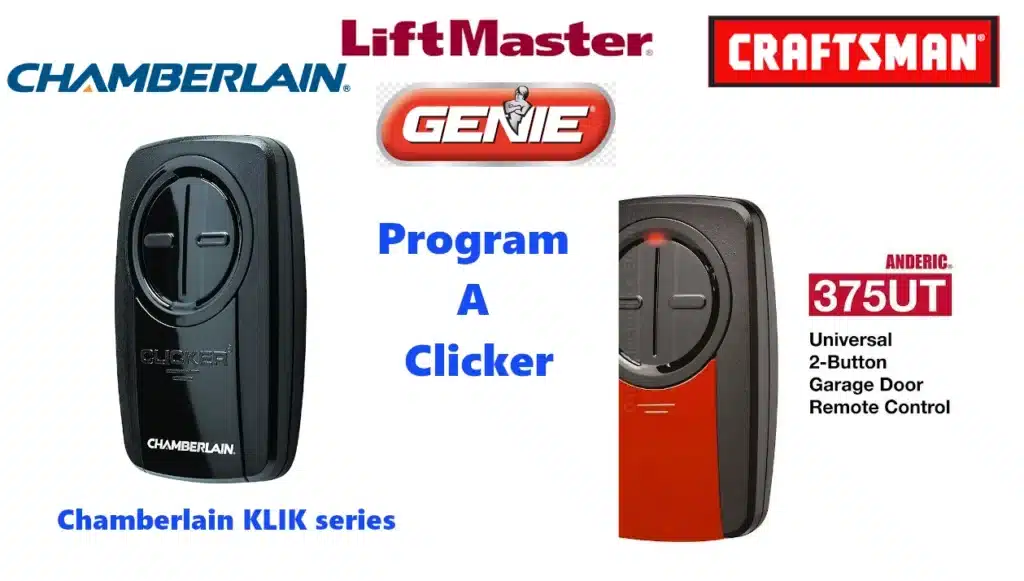
A Clicker universal garage door remote (Chamberlain KLIK series / LiftMaster 375UT) can be programmed to work with most openers from LiftMaster, Chamberlain, and Craftsman (Sears) that use a “learn” or “smart” button. The steps below explain how to sync the Clicker remote with each brand’s opener. Safety first: Make sure the garage door is closed before you begin. Keep bystanders (especially children) away, and use a stable ladder if needed to reach the opener’s learn button. Never stand under the door as it moves, and keep hands and fingers clear of any moving parts.
How to Program a Clicker Garage Door Opener with LiftMaster
Step 1: Open the Remote and Enter Programming Mode
- Slide off the Clicker’s battery cover. Inside, press and hold the black “program” button for about 2 seconds until the remote’s red LED turns on. This puts the Clicker into programming mode.
- The garage door opener and remote must be powered (electric and battery). Ensure the opener’s light is on or its power indicator is lit.
Step 2: Press LiftMaster’s Learn Button
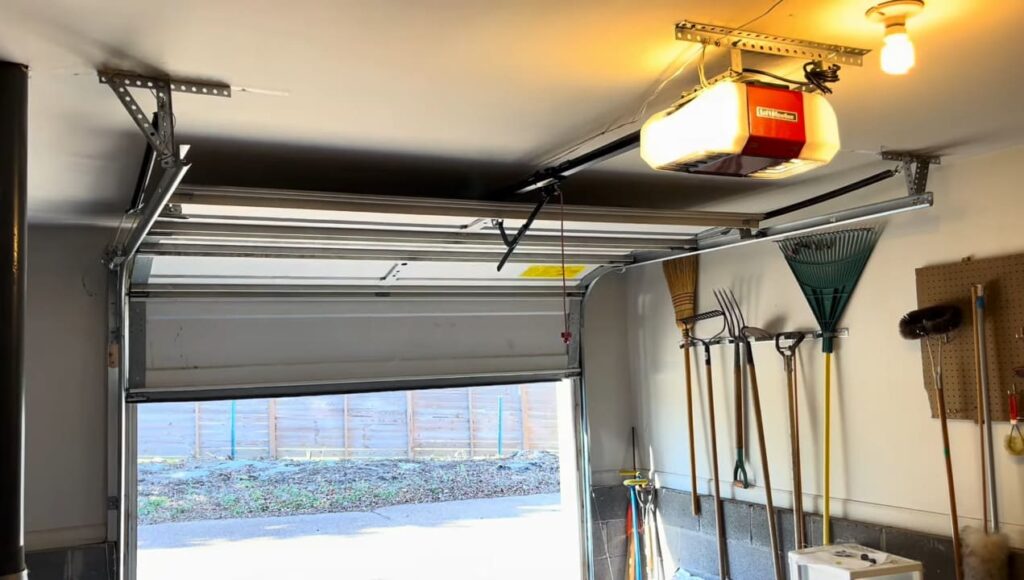
- Locate the “Learn” (or “Smart”) button on your LiftMaster opener. This is usually on the back or side of the motor unit (often under a light cover). The button is typically red/orange on units made 1997–2005, or purple on units 2005–present. You may need a ladder to reach it – use caution.
- Press and release the learn button. An LED on the opener will blink or stay lit, indicating it is in learn mode. You now have about 30 seconds to complete programming.
Step 3: Press the Clicker Remote Button
- Within 30 seconds after pressing Learn, press the desired button on the Liftmaster Clicker remote. The Clicker’s LED will flash as you press.
- Number of presses: Depending on your opener’s system, you must press and release the Clicker button multiple times until the opener responds. For LiftMaster openers with the red/orange learn button (Security+ 390 MHz models), press the Clicker 2 times. For those with the purple button (Security+ 315 MHz models, 2005 and newer), press 3 times. (You may press up to 5–6 times on some models.) Continue pressing and releasing the remote button until you hear a click or the opener’s lights blink. This indicates the code was accepted.
Step 4: Exit Programming and Test
- If the opener doesn’t automatically exit learn mode, press the remote’s program button once to lock in the code.
- Test the remote by pressing the button you just programmed. The LiftMaster opener should activate. If it doesn’t work, repeat the above steps.
How to Program a Clicker Garage Door Opener with Genie
Step 1: Open the Remote and Prepare
- As with LiftMaster, slide off the Clicker’s battery cover. Press and hold the program button on the Clicker until the LED lights up.
- Verify the garage door is closed and the Genie opener has power.
Step 2: Press Genie’s Learn Button
- Find Genie’s “Learn” or “Program/Set” button on the opener. On many Genie Intellicode® openers, this button may be square or round and is often under a light lens or on the side. (If you’re unsure, consult the Genie manual.) Press and release Genie’s learn/code button – an LED on the opener will light up, indicating it’s ready.
Step 3: Program the Clicker Button
- After pressing Genie’s learn button, press the Clicker’s chosen button 5 times, waiting for the LED to blink between each press. Genie Intellicode systems typically require 5 presses. (Older Genie models or non-Intellicode systems may use a different count, but most modern Genies use 315 MHz Intellicode.) Continue until the opener’s light flashes or you hear a click.
- Note: Some Genie Intellicode systems require an existing Genie remote to complete programming. If 5 presses do not work, you may need to use a Genie remote’s Program/Set button in combination. Refer to the Genie manual if necessary.
Step 4: Exit and Verify
- Release any programming button so the opener exits learn mode.
- Press the Clicker button you just programmed to confirm the door opens and closes. If it fails, repeat the steps carefully.
How to Program a Clicker Garage Door Opener with Chamberlain
Step 1: Power Up and Prepare the Clicker
- Ensure the garage door is closed. Open the Clicker remote cover and press and hold the program button for about 2 seconds until the Clicker’s LED turns on.
Step 2: Find Chamberlain’s Learn Button
- Locate the Learn (or “Smart”) button on your Chamberlain opener. Chamberlain units often have an orange/red button (for 1997–2005 models) or a purple button (2005 and later). It’s usually on the back or side of the motor head. Press and release this button.
Step 3: Sync the Clicker Remote
- With the Clicker in programming mode, press the desired Clicker button repeatedly. Chamberlain openers with an orange/red Learn button require 2 presses on the Clicker. If your opener’s Learn button is purple (Security+ 315 MHz), press 3 times. Keep pressing until the Chamberlain opener’s lights flash or you hear a click, confirming success.
Step 4: Finish and Test
- Press the Clicker’s program button once to exit programming (if needed). Then press the remote’s button to make sure the garage door opens. Repeat if necessary.
How to Program a Clicker Garage Door Opener with Craftsman
Note: Sears Craftsman openers are electrically identical to Chamberlain/LiftMaster models and use the same programming process.
Step 1: Prepare the Clicker Remote
- Make sure the Craftsman garage door is closed. On the Clicker remote, hold down the program button until the LED comes on.
Step 2: Press Craftsman’s Learn Button
- Find the Learn (Smart) button on the Craftsman opener (often orange/red for older models or purple for newer Security+ models). It’s usually on the back/side of the opener. Press and release it – an LED on the opener will begin to blink.
Step 3: Program the Remote Button
- Within 30 seconds of pressing Learn, press the chosen Clicker button. Craftsman (Sears) openers with a red/orange learn button require the Clicker button to be pressed 2 times. If it has a purple learn button (315 MHz), press 3 times. Continue until the door activates or the opener flashes.
Step 4: Exit Programming and Test
- Press the Clicker’s program button to lock in the code. Then press the remote button to ensure the Craftsman opener responds. If it doesn’t, repeat the programming steps.
By following these steps for your specific brand, your Clicker remote should now operate your garage door opener. Always keep the remote out of children’s reach, and double-check that the garage door’s safety sensors and auto-reverse features are working correctly when testing the new remote.